A YouTube video I published a couple years ago generated some unexpected interest in my music production desk. It’s a custom build, designed around a vintage Kurzweil MIDIBoard MIDI keyboard controller. Should you wish to build one, I’ll share the project details here. CAD drawings and cut sheets are freely available for download below.
Too Big To Fail
So, what’s the big deal about Kurzweil’s MIDIBoard and why would anyone go to the trouble of designing and building a custom music production desk when there are dozens of studio furniture manufacturers (e.g., Argosy, Omnirax, Ultimate Support) that can do it for you?
Fans of the decades-old MIDIBoard will happily tell you its the best MIDI keyboard controller ever produced (evidenced by it’s ever-increasing eBay prices). It’s also the heaviest keyboard controller ever produced, at around 100 lbs. And the largest, by volume, consuming the breathing space of five contemporary equivalents. As such, it is a rare and prized possession among music producers, but a big, fat round peg in the square hole afforded by most recording studios, where space and acoustics are precious commodities.
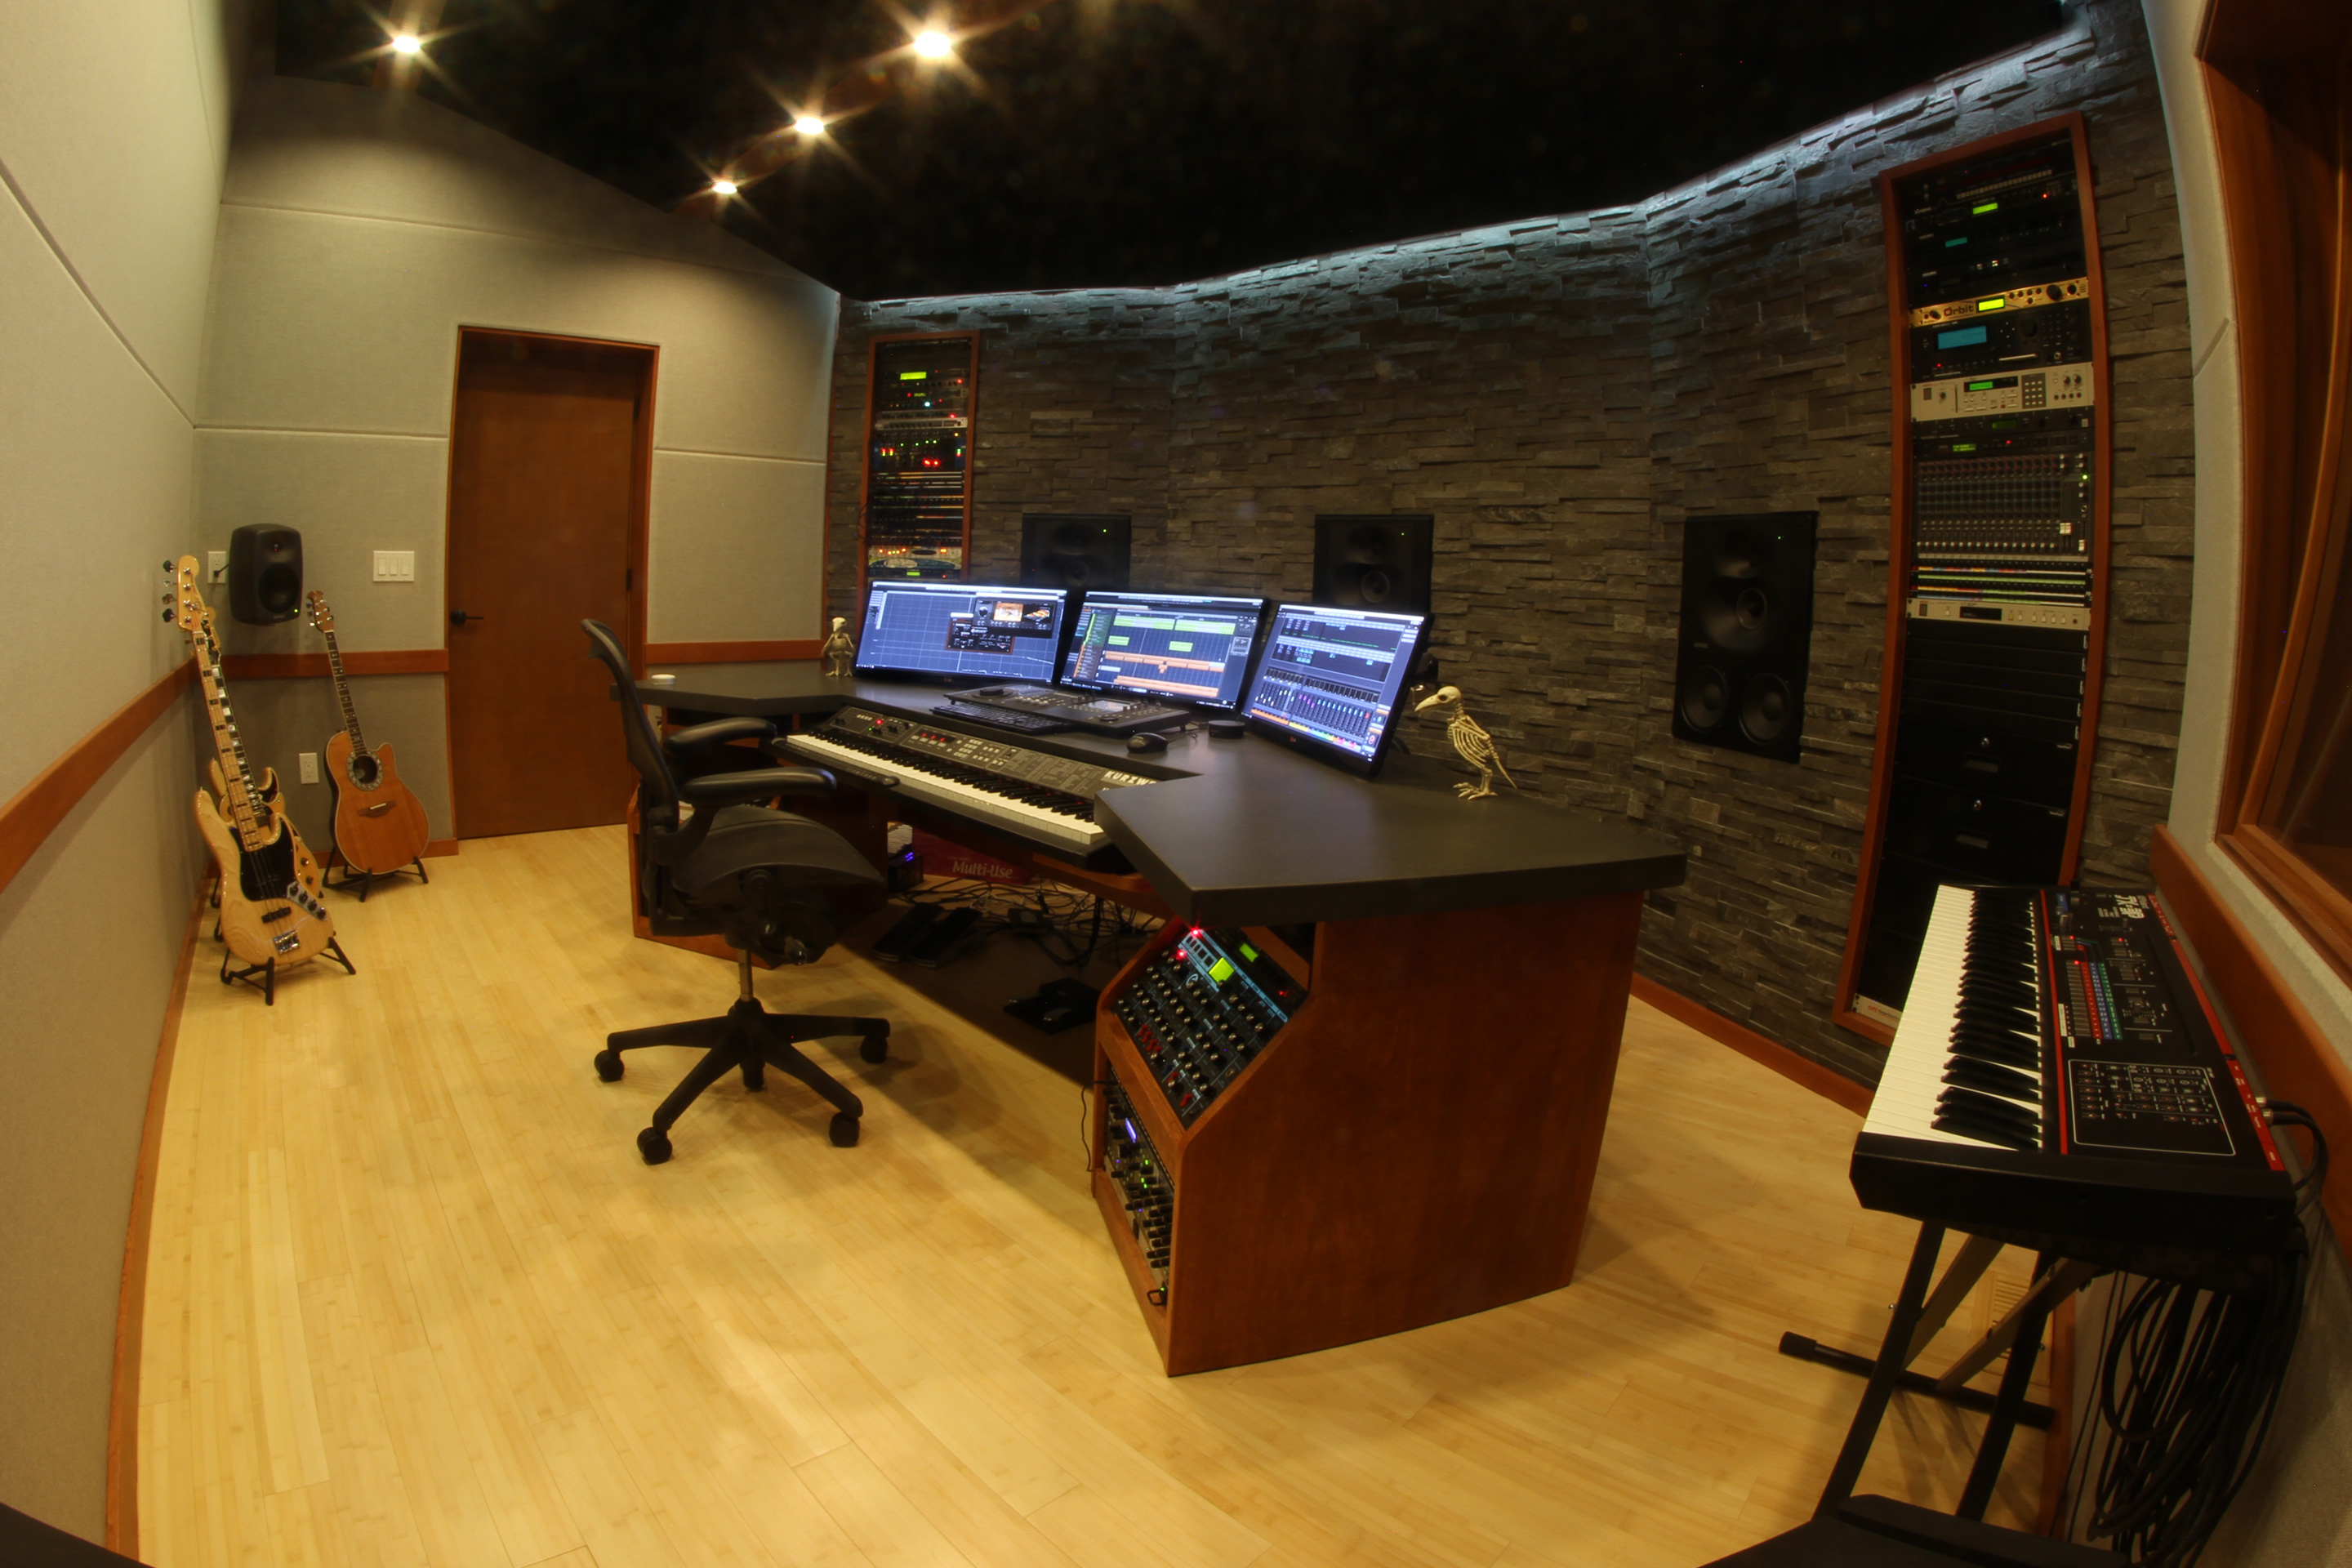


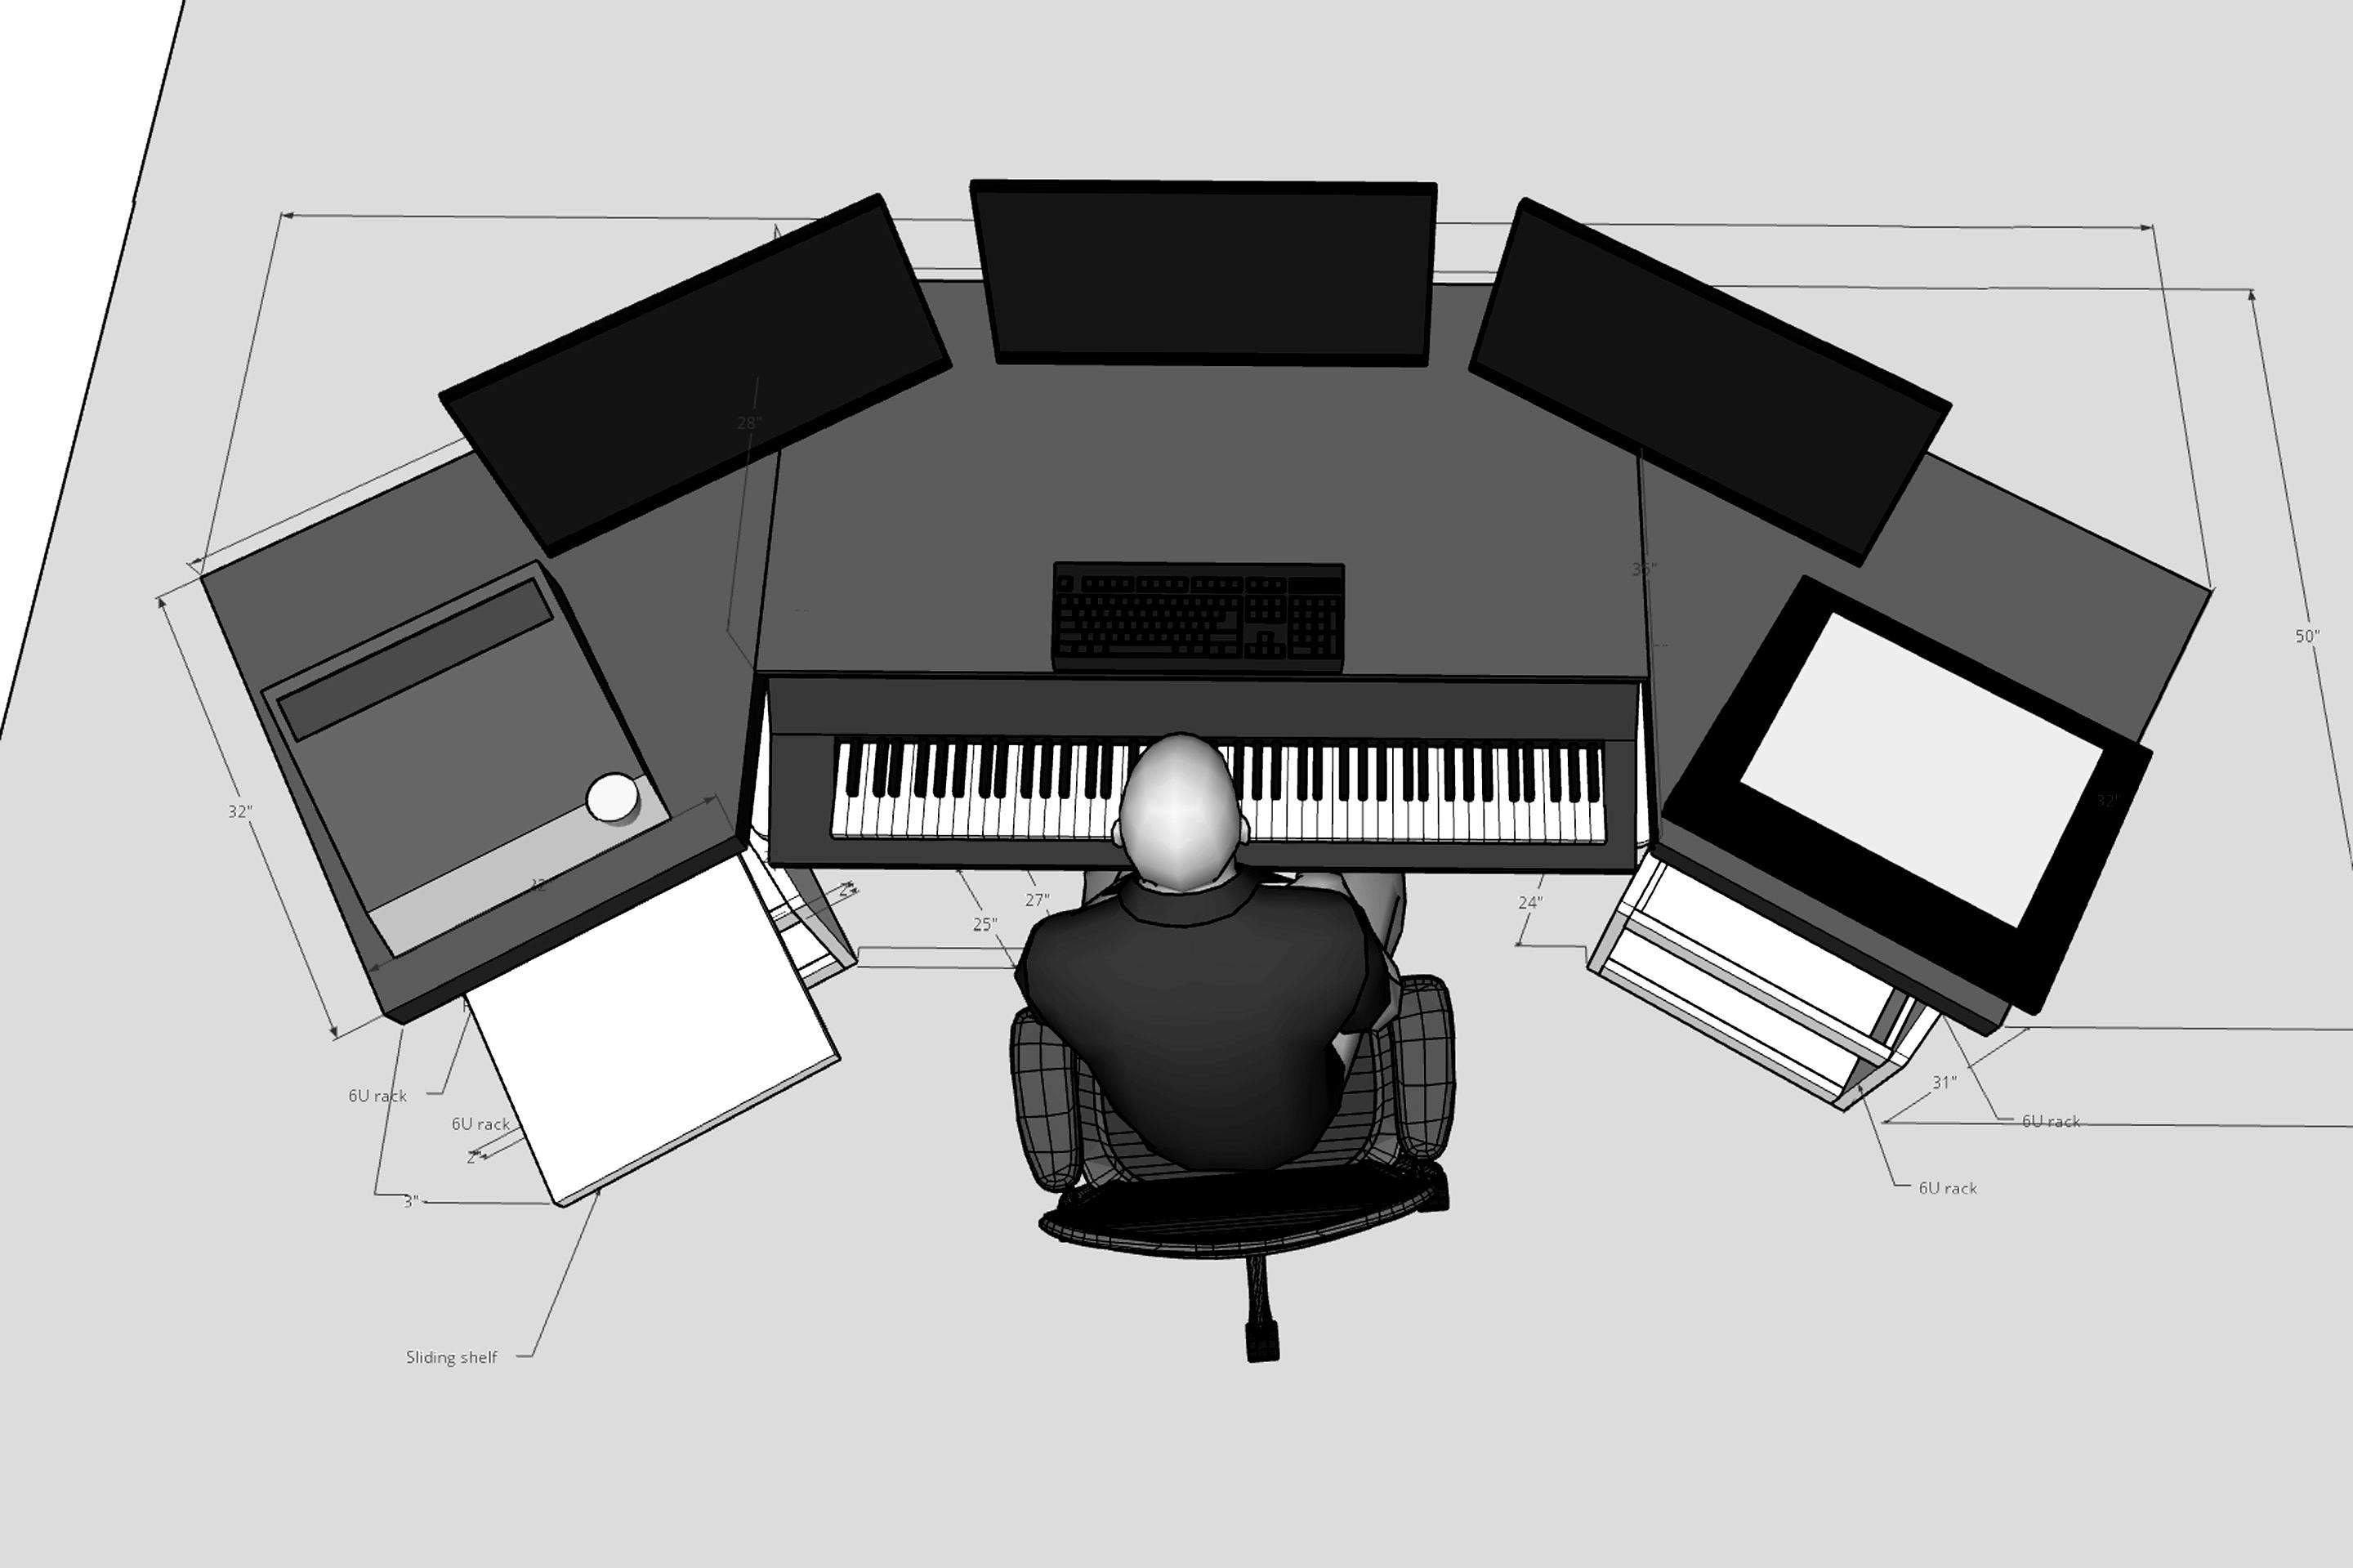
Granted, if your recording studio offers dedicated rooms for the talent, you needn’t worry about the MIDIBoard’s size. Set it on milk crates and let your engineer worry about the acoustics. On the other hand, if your control room is also your performance space – what recording studio designers call a ‘combined studio / control room’ – then your production desk is a critical component of the room, where everything is fixed in place and ergonomics are paramount – ideally, granting easy access to myriad instruments and controllers, including piano keyboards, mixing consoles, and drum pad interfaces, to name a few. Oh, and of course, your computer keyboard and mouse. It’s a lot to squeeze into a small area.
Sadly, none of the aforementioned furniture makers offer music production desks that support the dimensions of the mighty MIDIBoard. I know. I called ’em. All of ’em. Trust me whan I say your only solution is to build your own. Or milk crates.
A Game of Inches
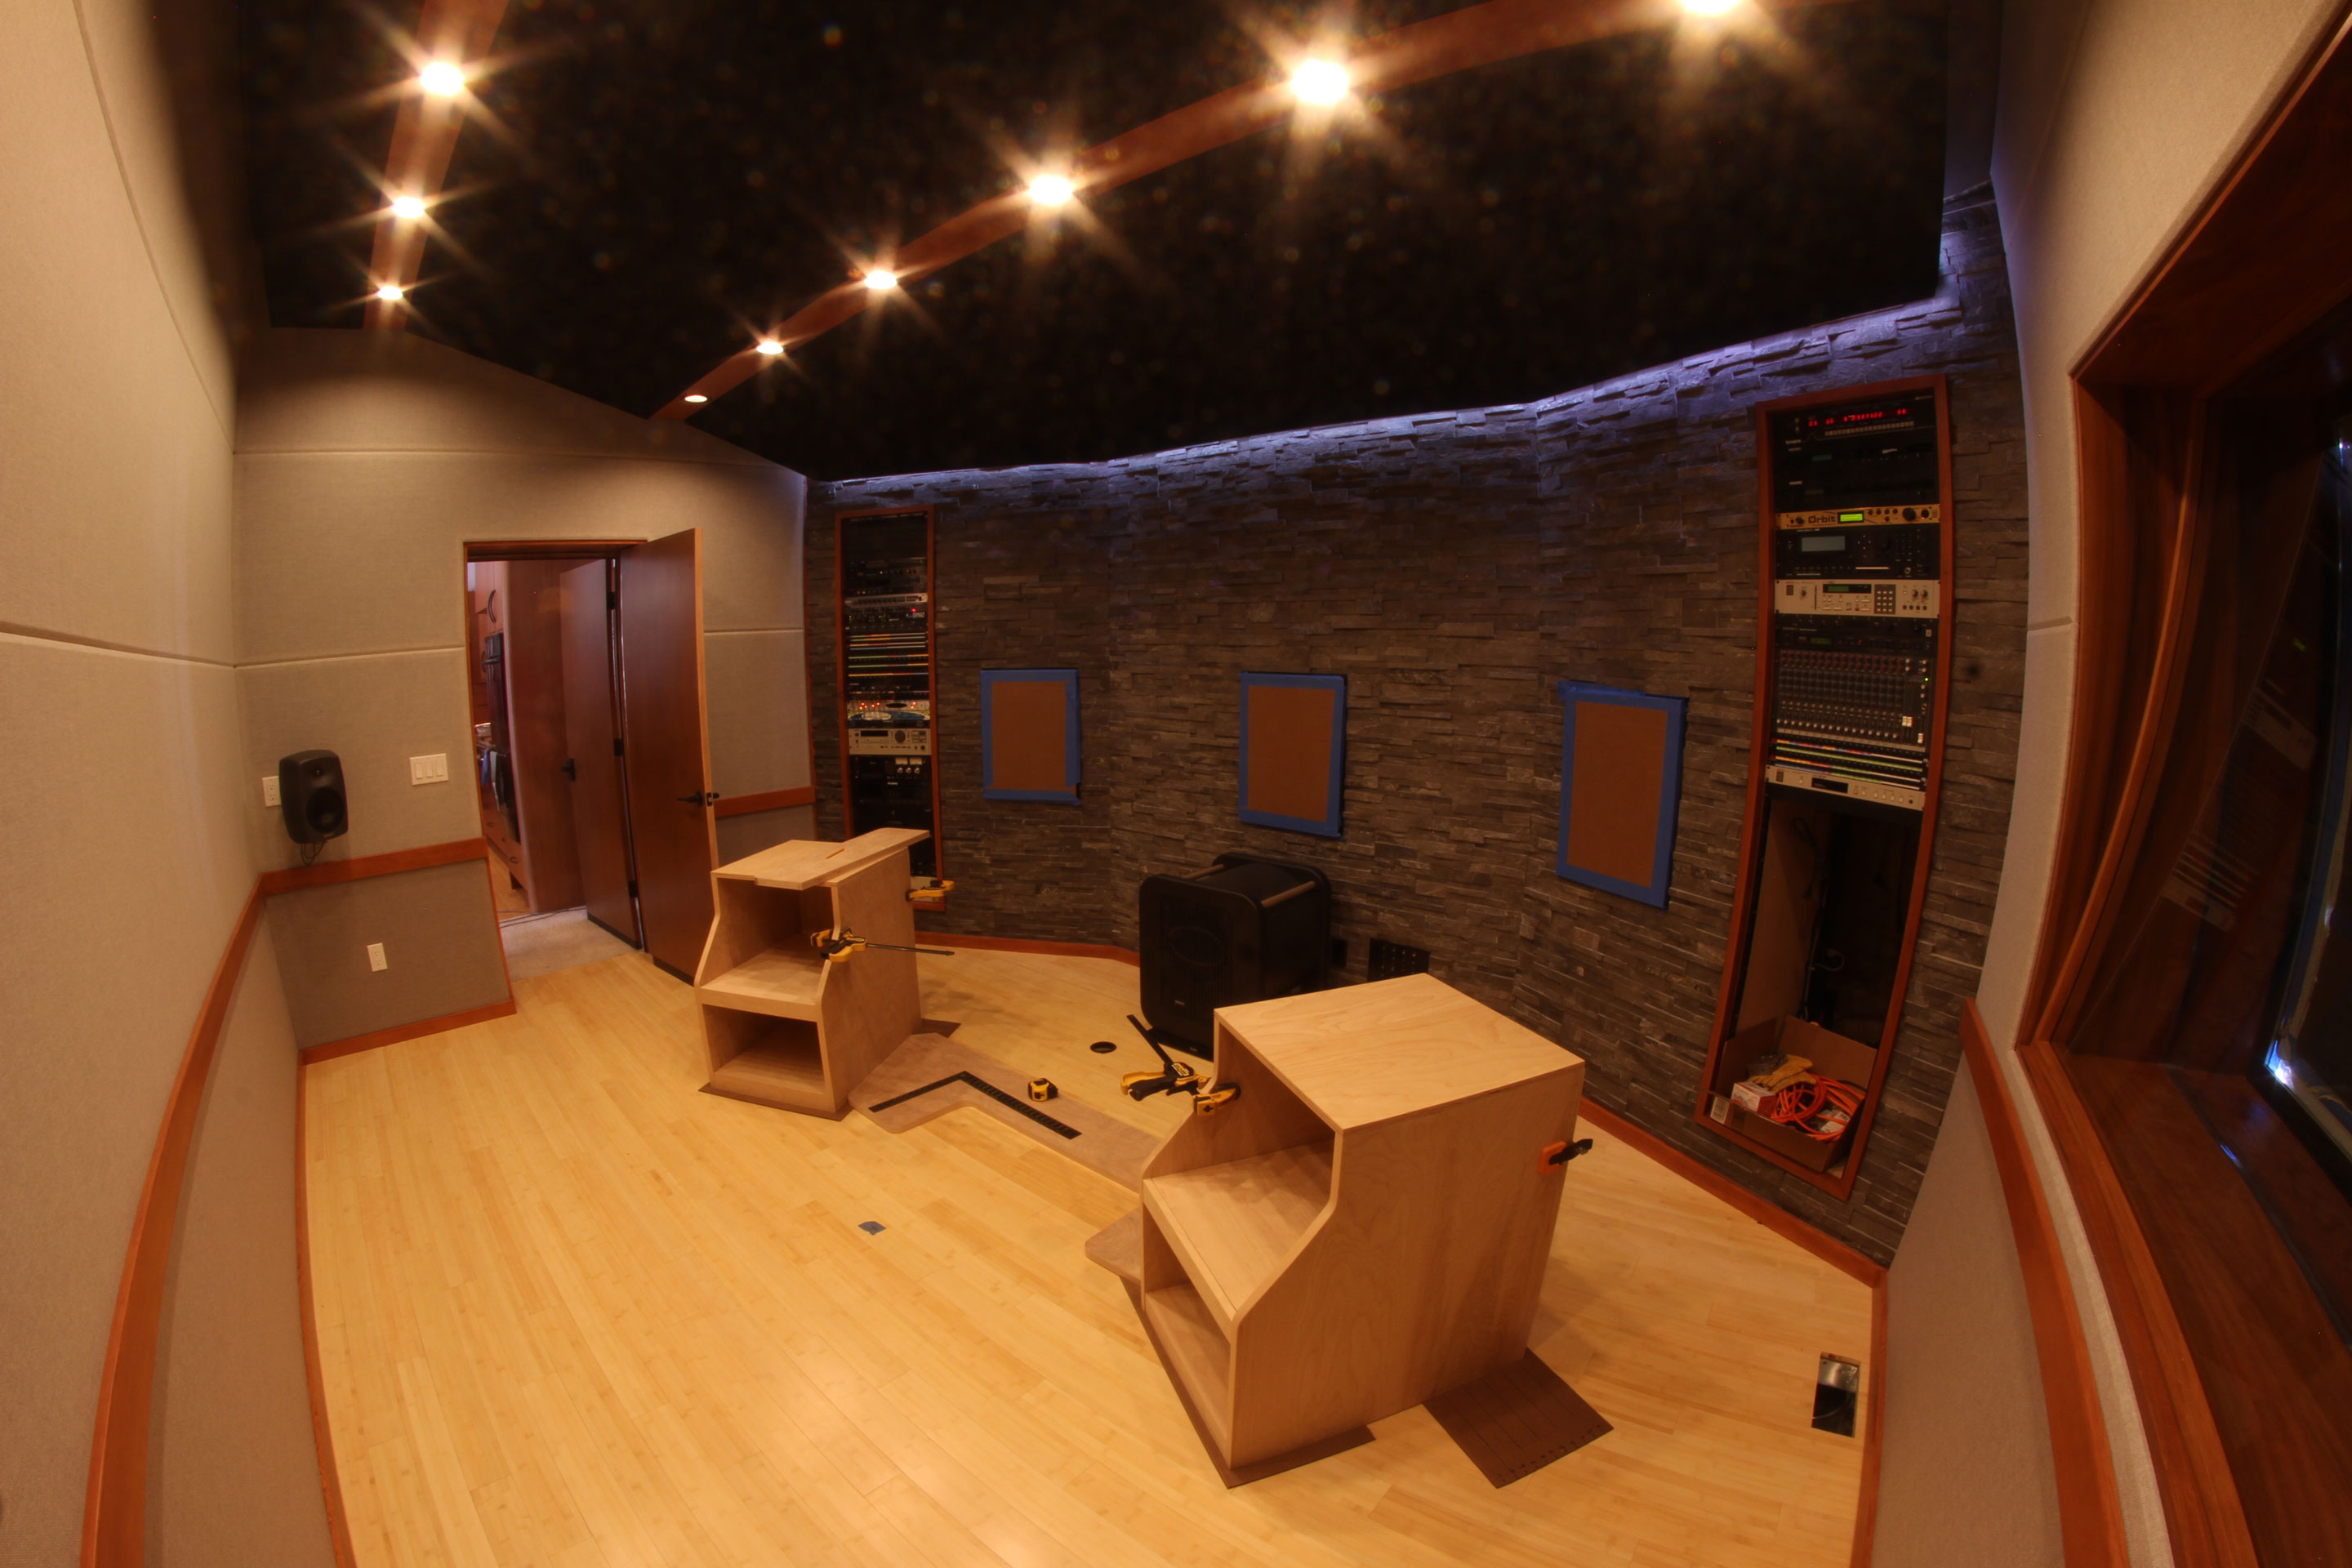
For those intent on designing their own desks from scratch, know this: Building a production desk around the MIDIBoard is an exercise in compromise. First and foremost, there’s the problem of the controller’s height. Aim for a standard office desktop height of 28-30″ and your knees might not fit under the MIDIBoard. Or, bump things up so the MIDIBoard’s keys match the standard height of a concert grand piano and your desktop grows to an awkward 33″ or more. To meet both standards, the MIDIBoard would have to be at least three inches shorter. So, there is no right answer – the ideal desk height will necessarily be a function of the user’s lap height measured from the floor. Grab your studio chair and tape measure and start there. Everything else is secondary.
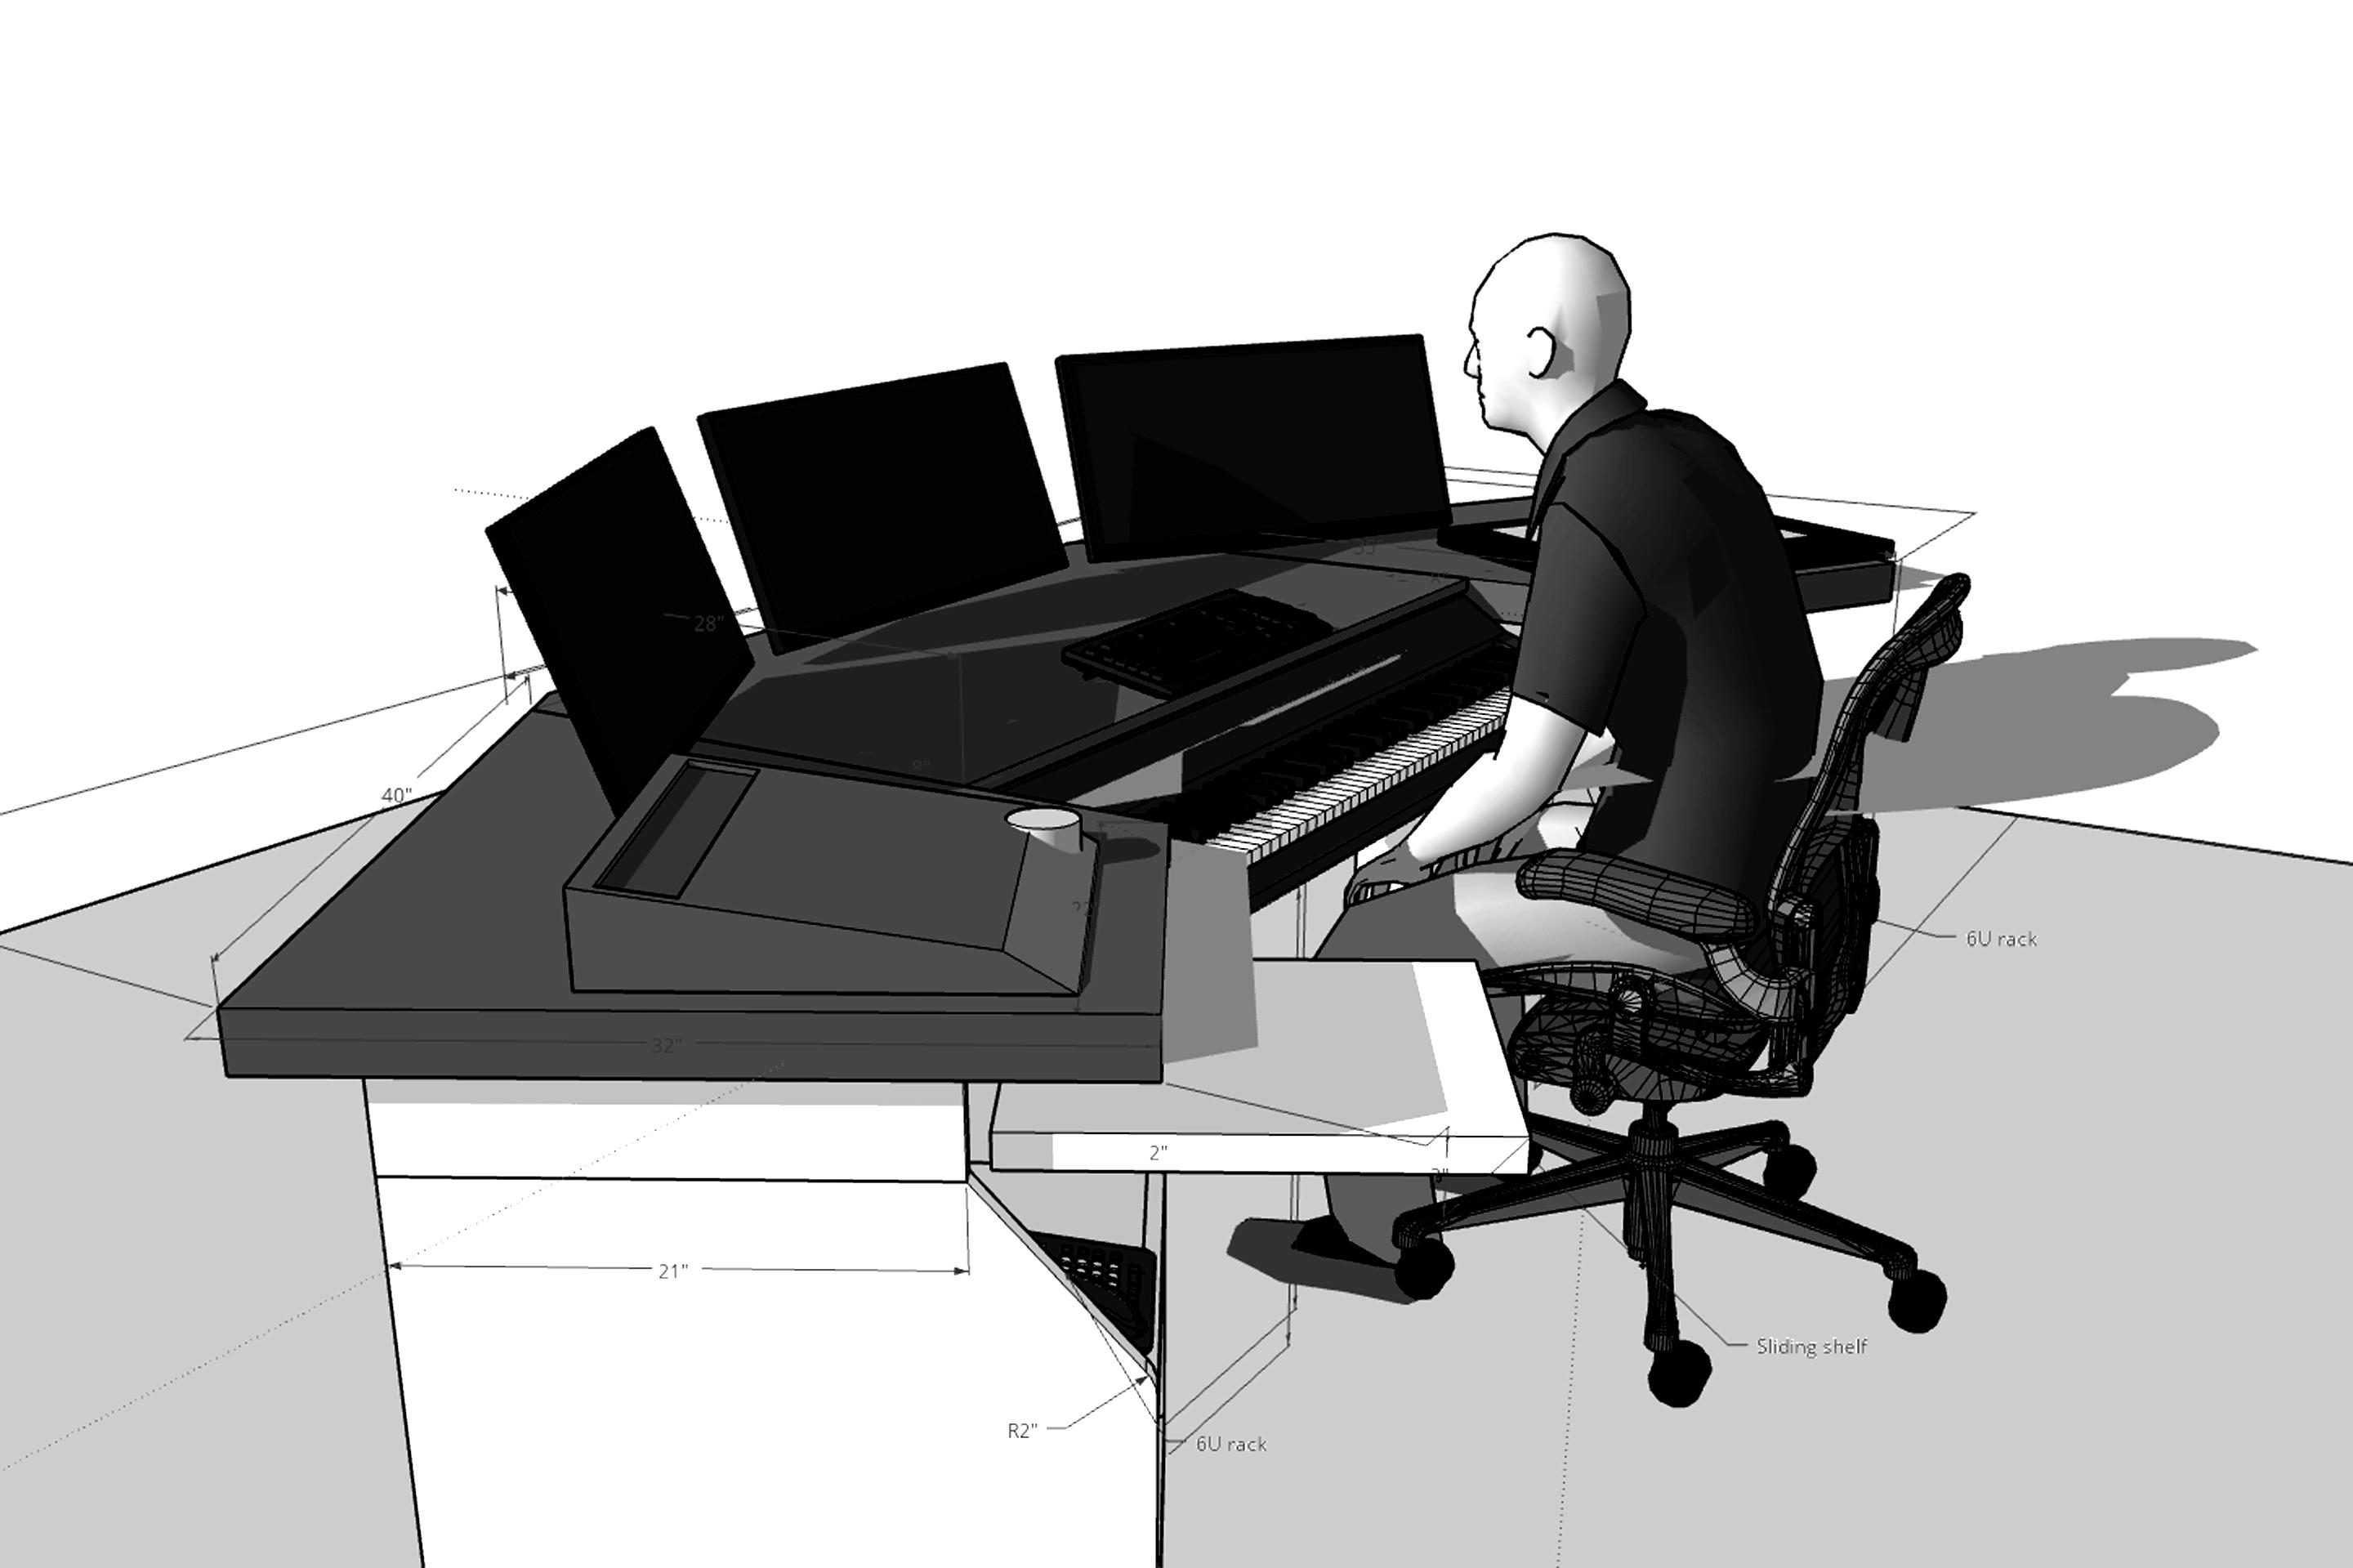
To improve your odds, I designed a supporting shelf for the MIDIBoard with a cutout for the user’s legs. This saved nearly two inches of critical leg room at the expense of structural integrity – you’ll notice some flexing when you put your MIDIBoard on the shelf. Users with shorter legs can afford to modify this design further, if they don’t mind a piano keyboard that’s even lower to the ground. In my case, a higher desktop created acoustical reflection points from my wall-mounted studio monitors, so this wasn’t an option. For the effort and expense that went into building my studio, I wasn’t about to compromise the acoustics with bad furniture.
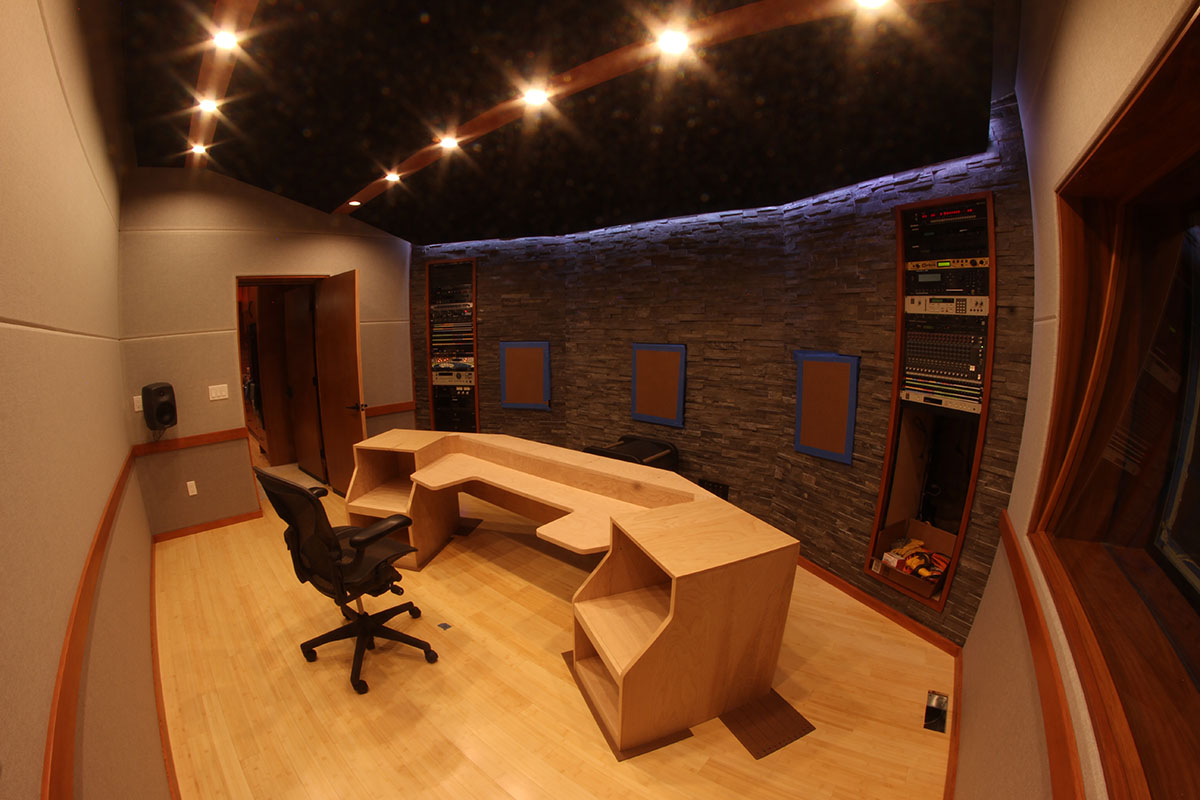
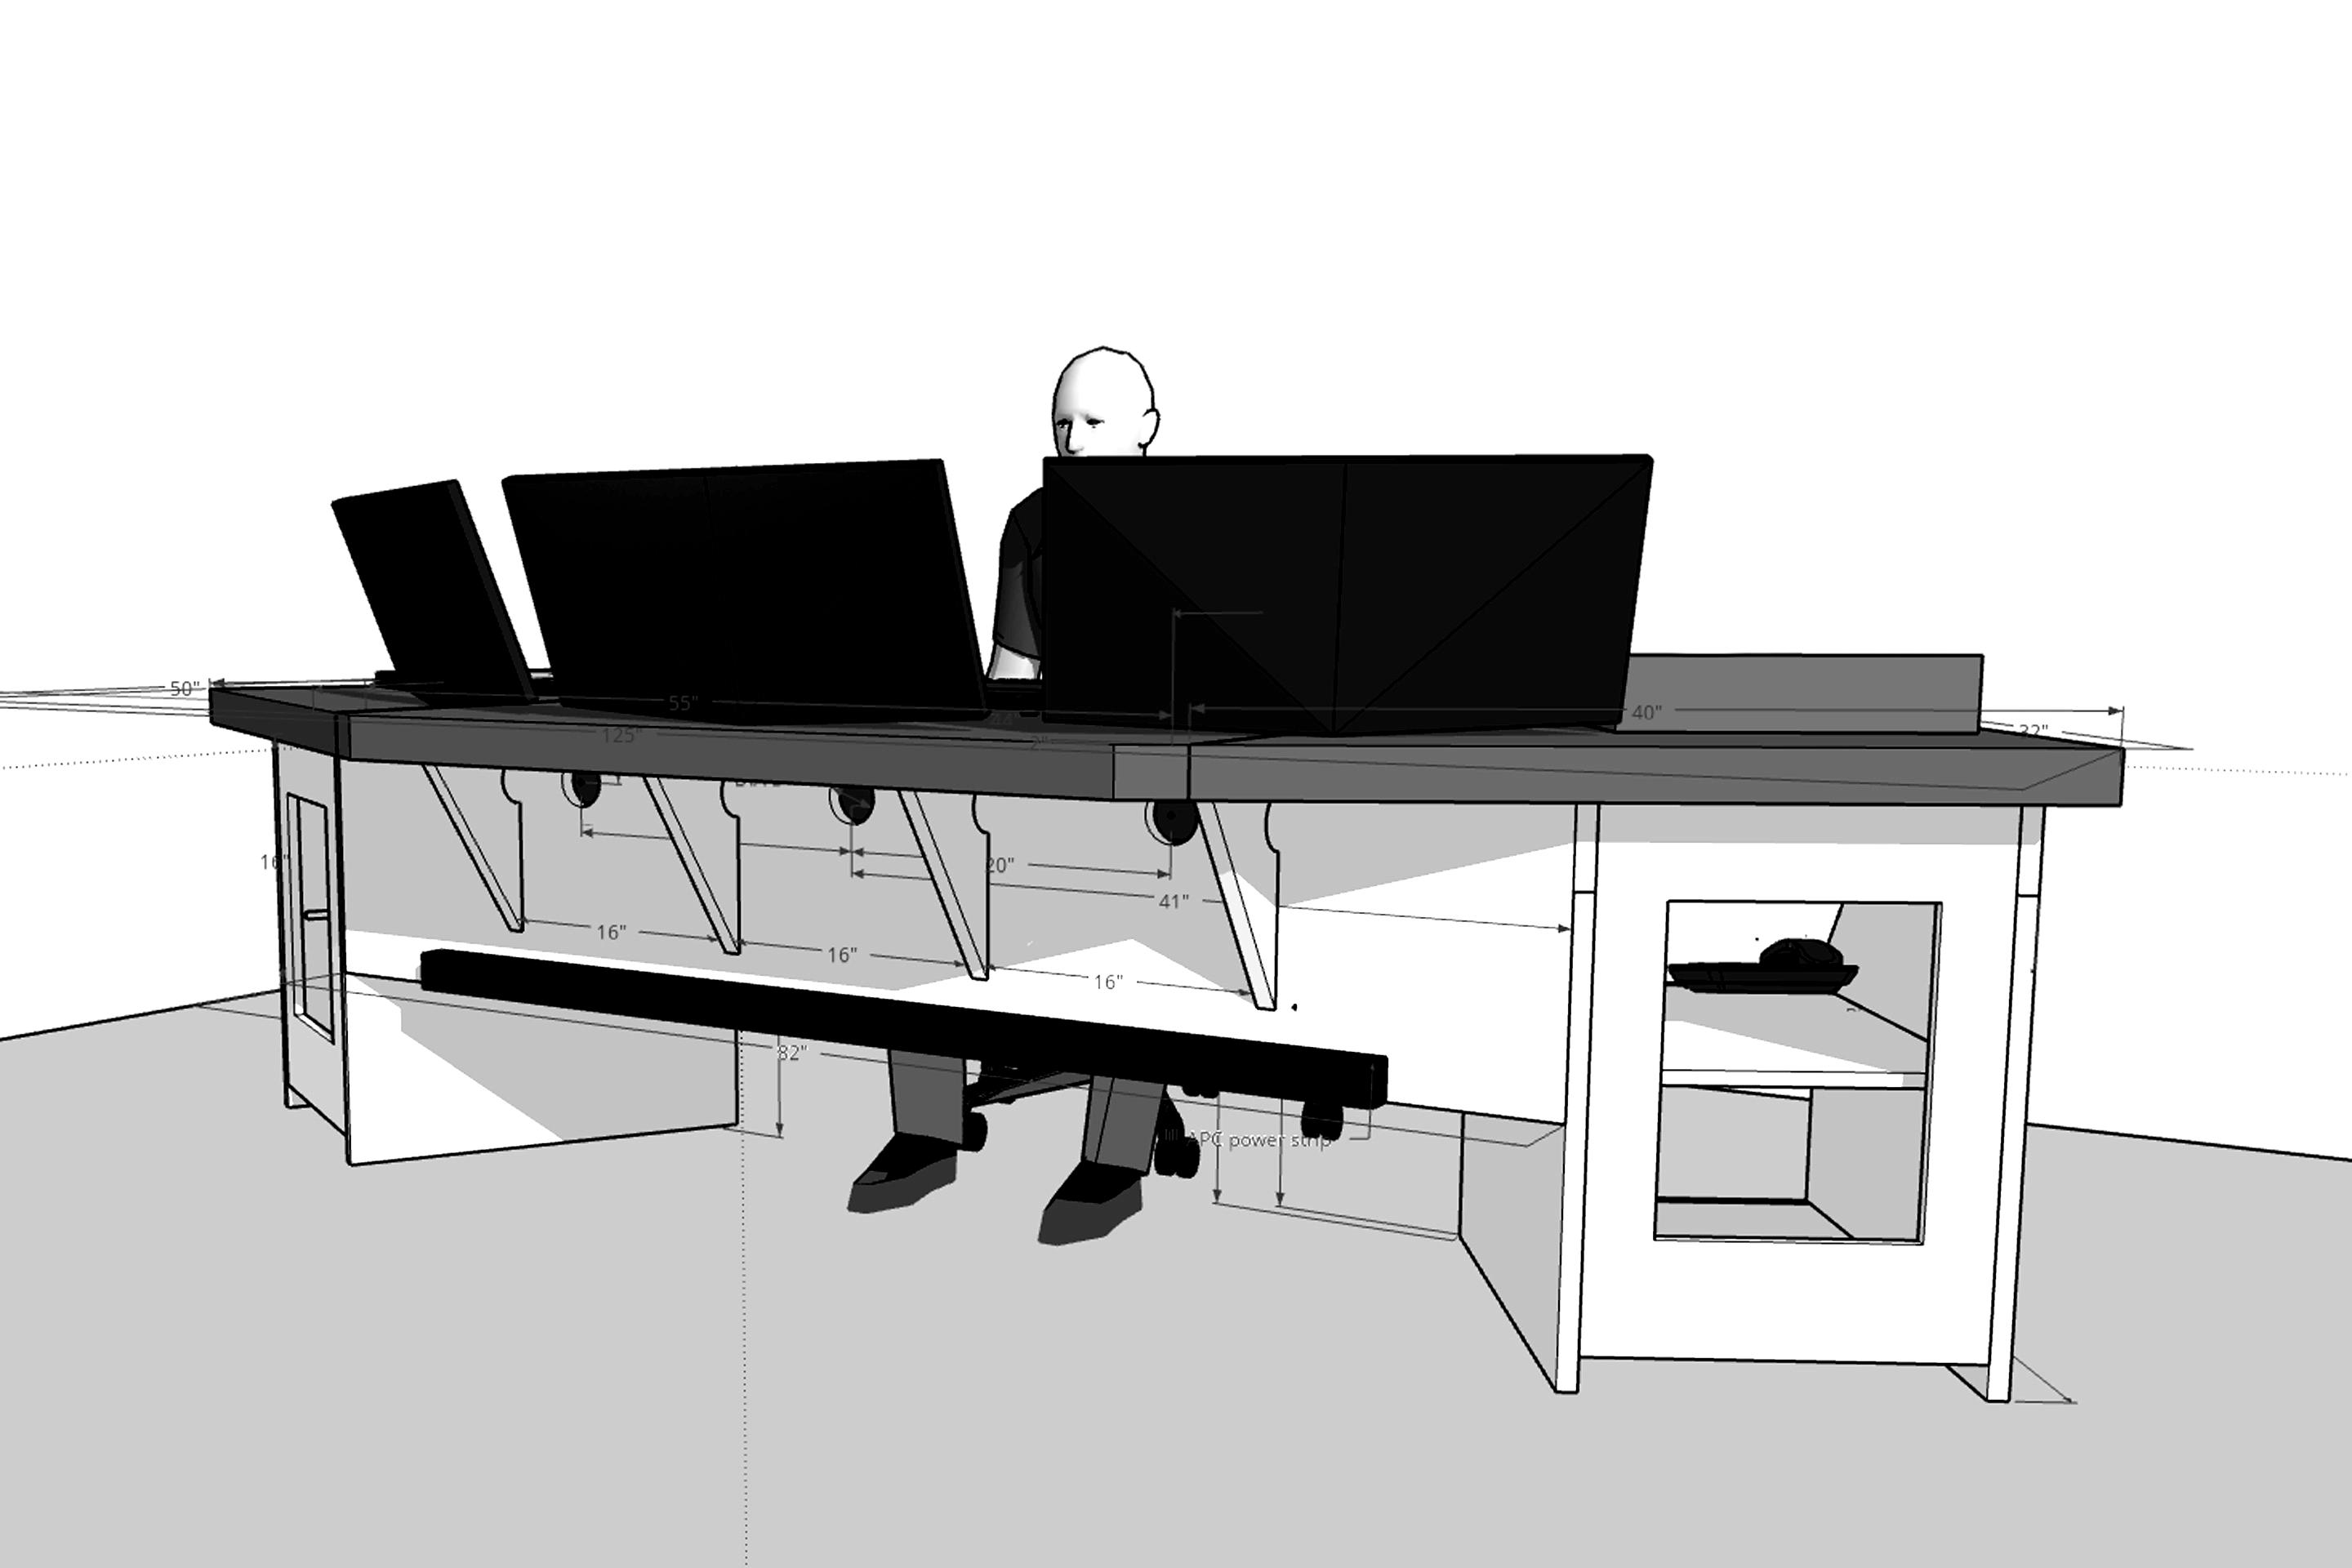
For the record, in my design (tailored to my long legs), the tops of the MIDIBoard’s white keys hover at 27.5″ from the floor – or, 1.5 inches below those of a concert grand. It is the absolute lowest I can go. With my office chair fully raised, this puts the MIDIBoard more-or-less on my lap, but with enough wiggle room to operate pedals, including my monster Ernie Ball volume pedals. From here, the desktop is necessarily 31″ high. Not bad.
Musique Concrète
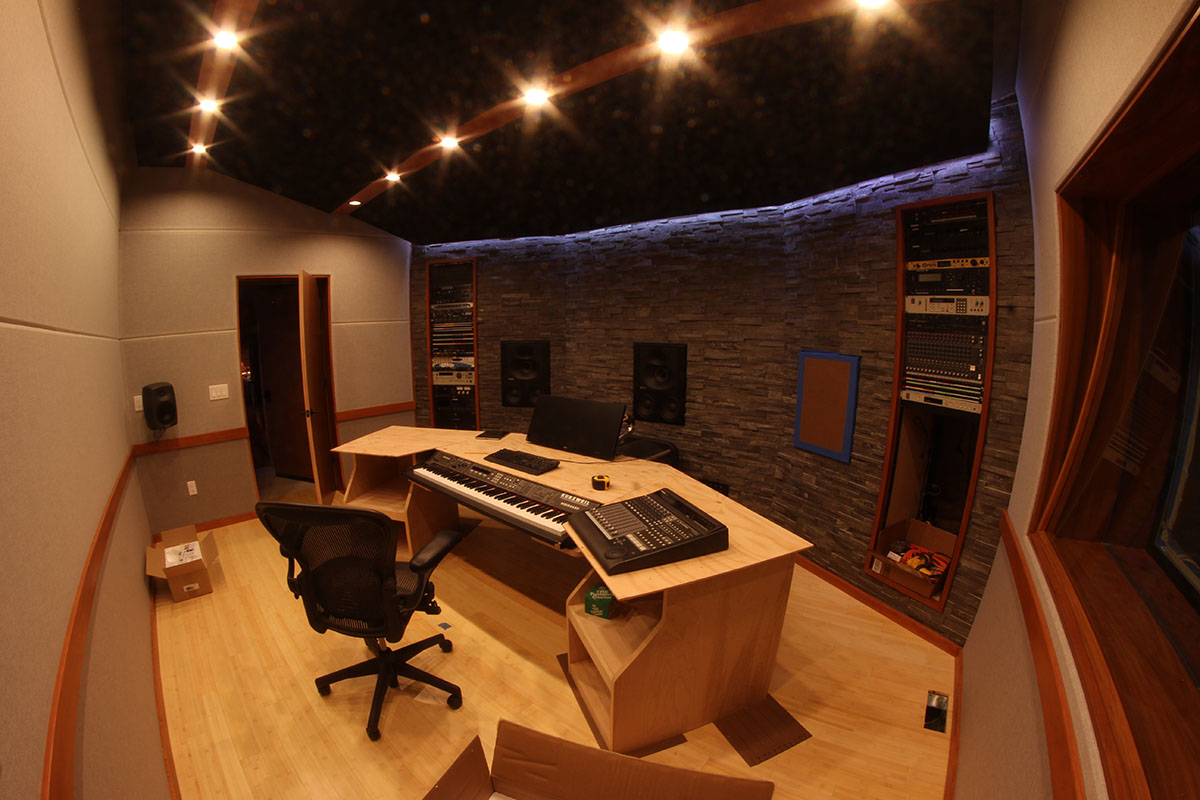
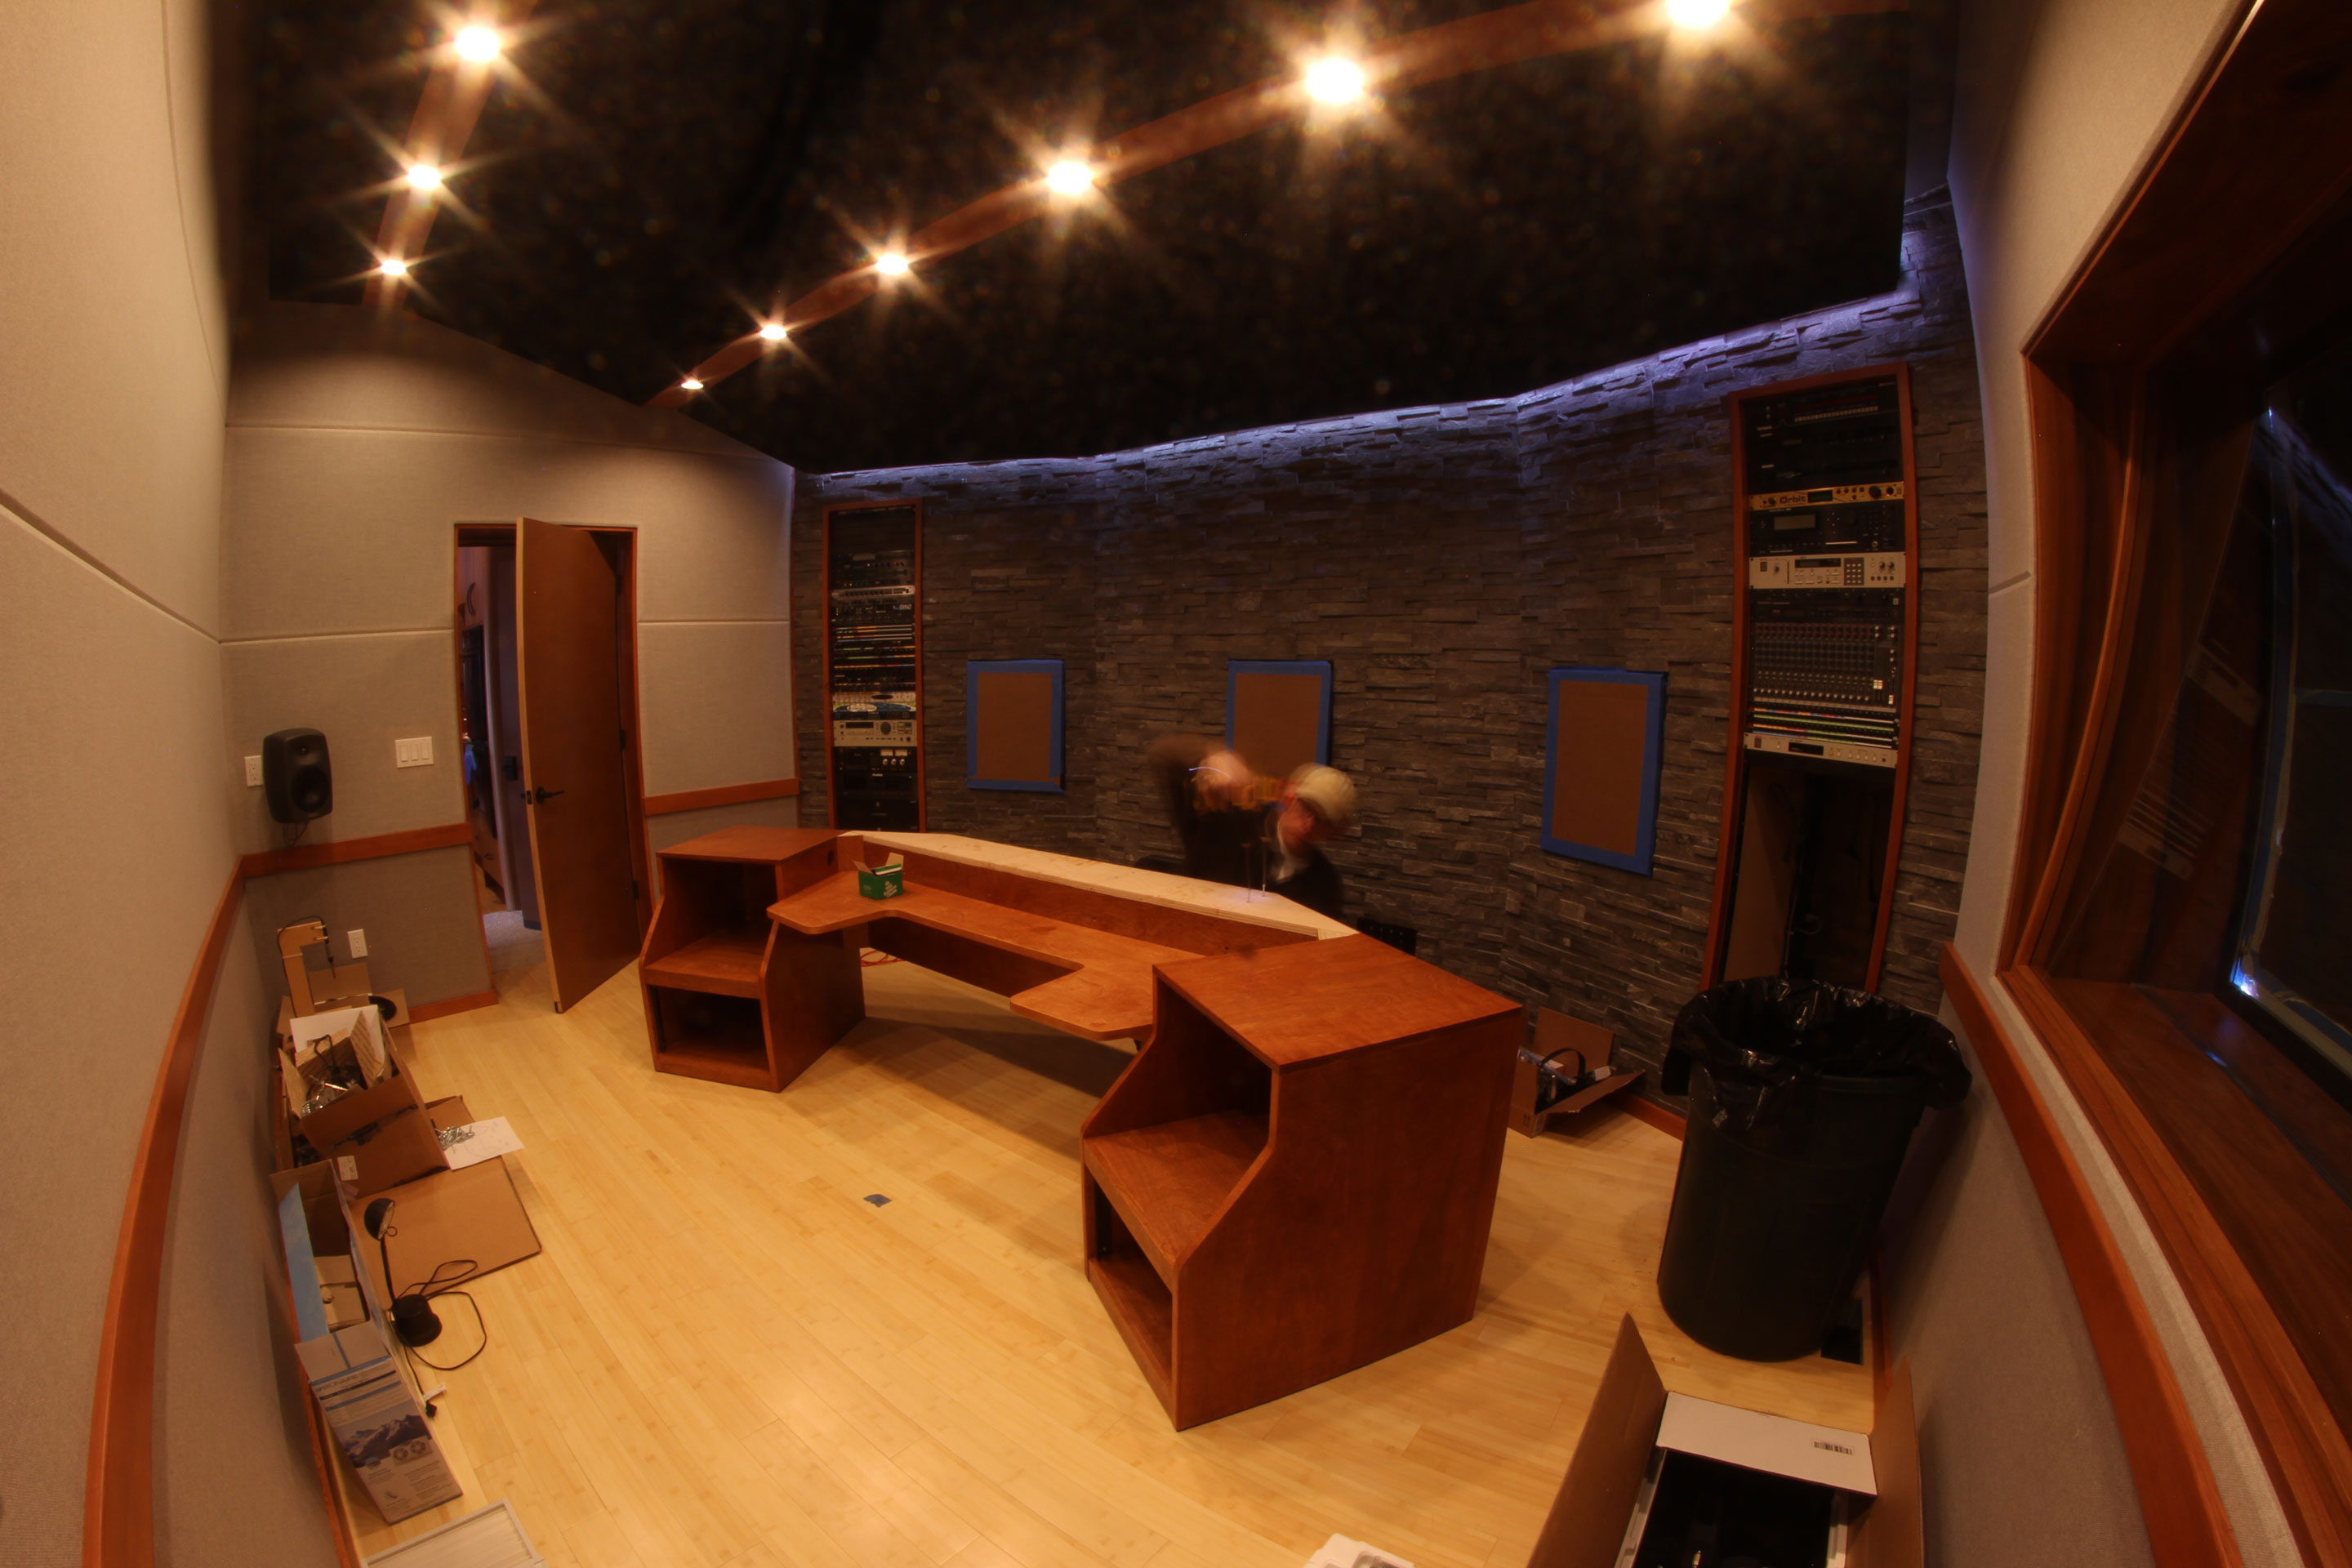
Critically, this desk incorporates a concrete desktop. The decision to use concrete came from the requirement for slim materials (again, to keep the desktop’s height down) with 100% rigidity across some very lengthy spans and unsupported overhangs.


By contrast, a single sheet of plywood (or MDF, or whatever) won’t cover the area of this desktop, leaving you with some complicated joinery and potentially ugly seams. And, after all that, questionable integrity. For example, I attached three 29″ ultra-widescreen video monitors to the rear edges of my desk via adjustable arms. Even with corbels to support the rear edge of the desktop, that’s a lot of torque.
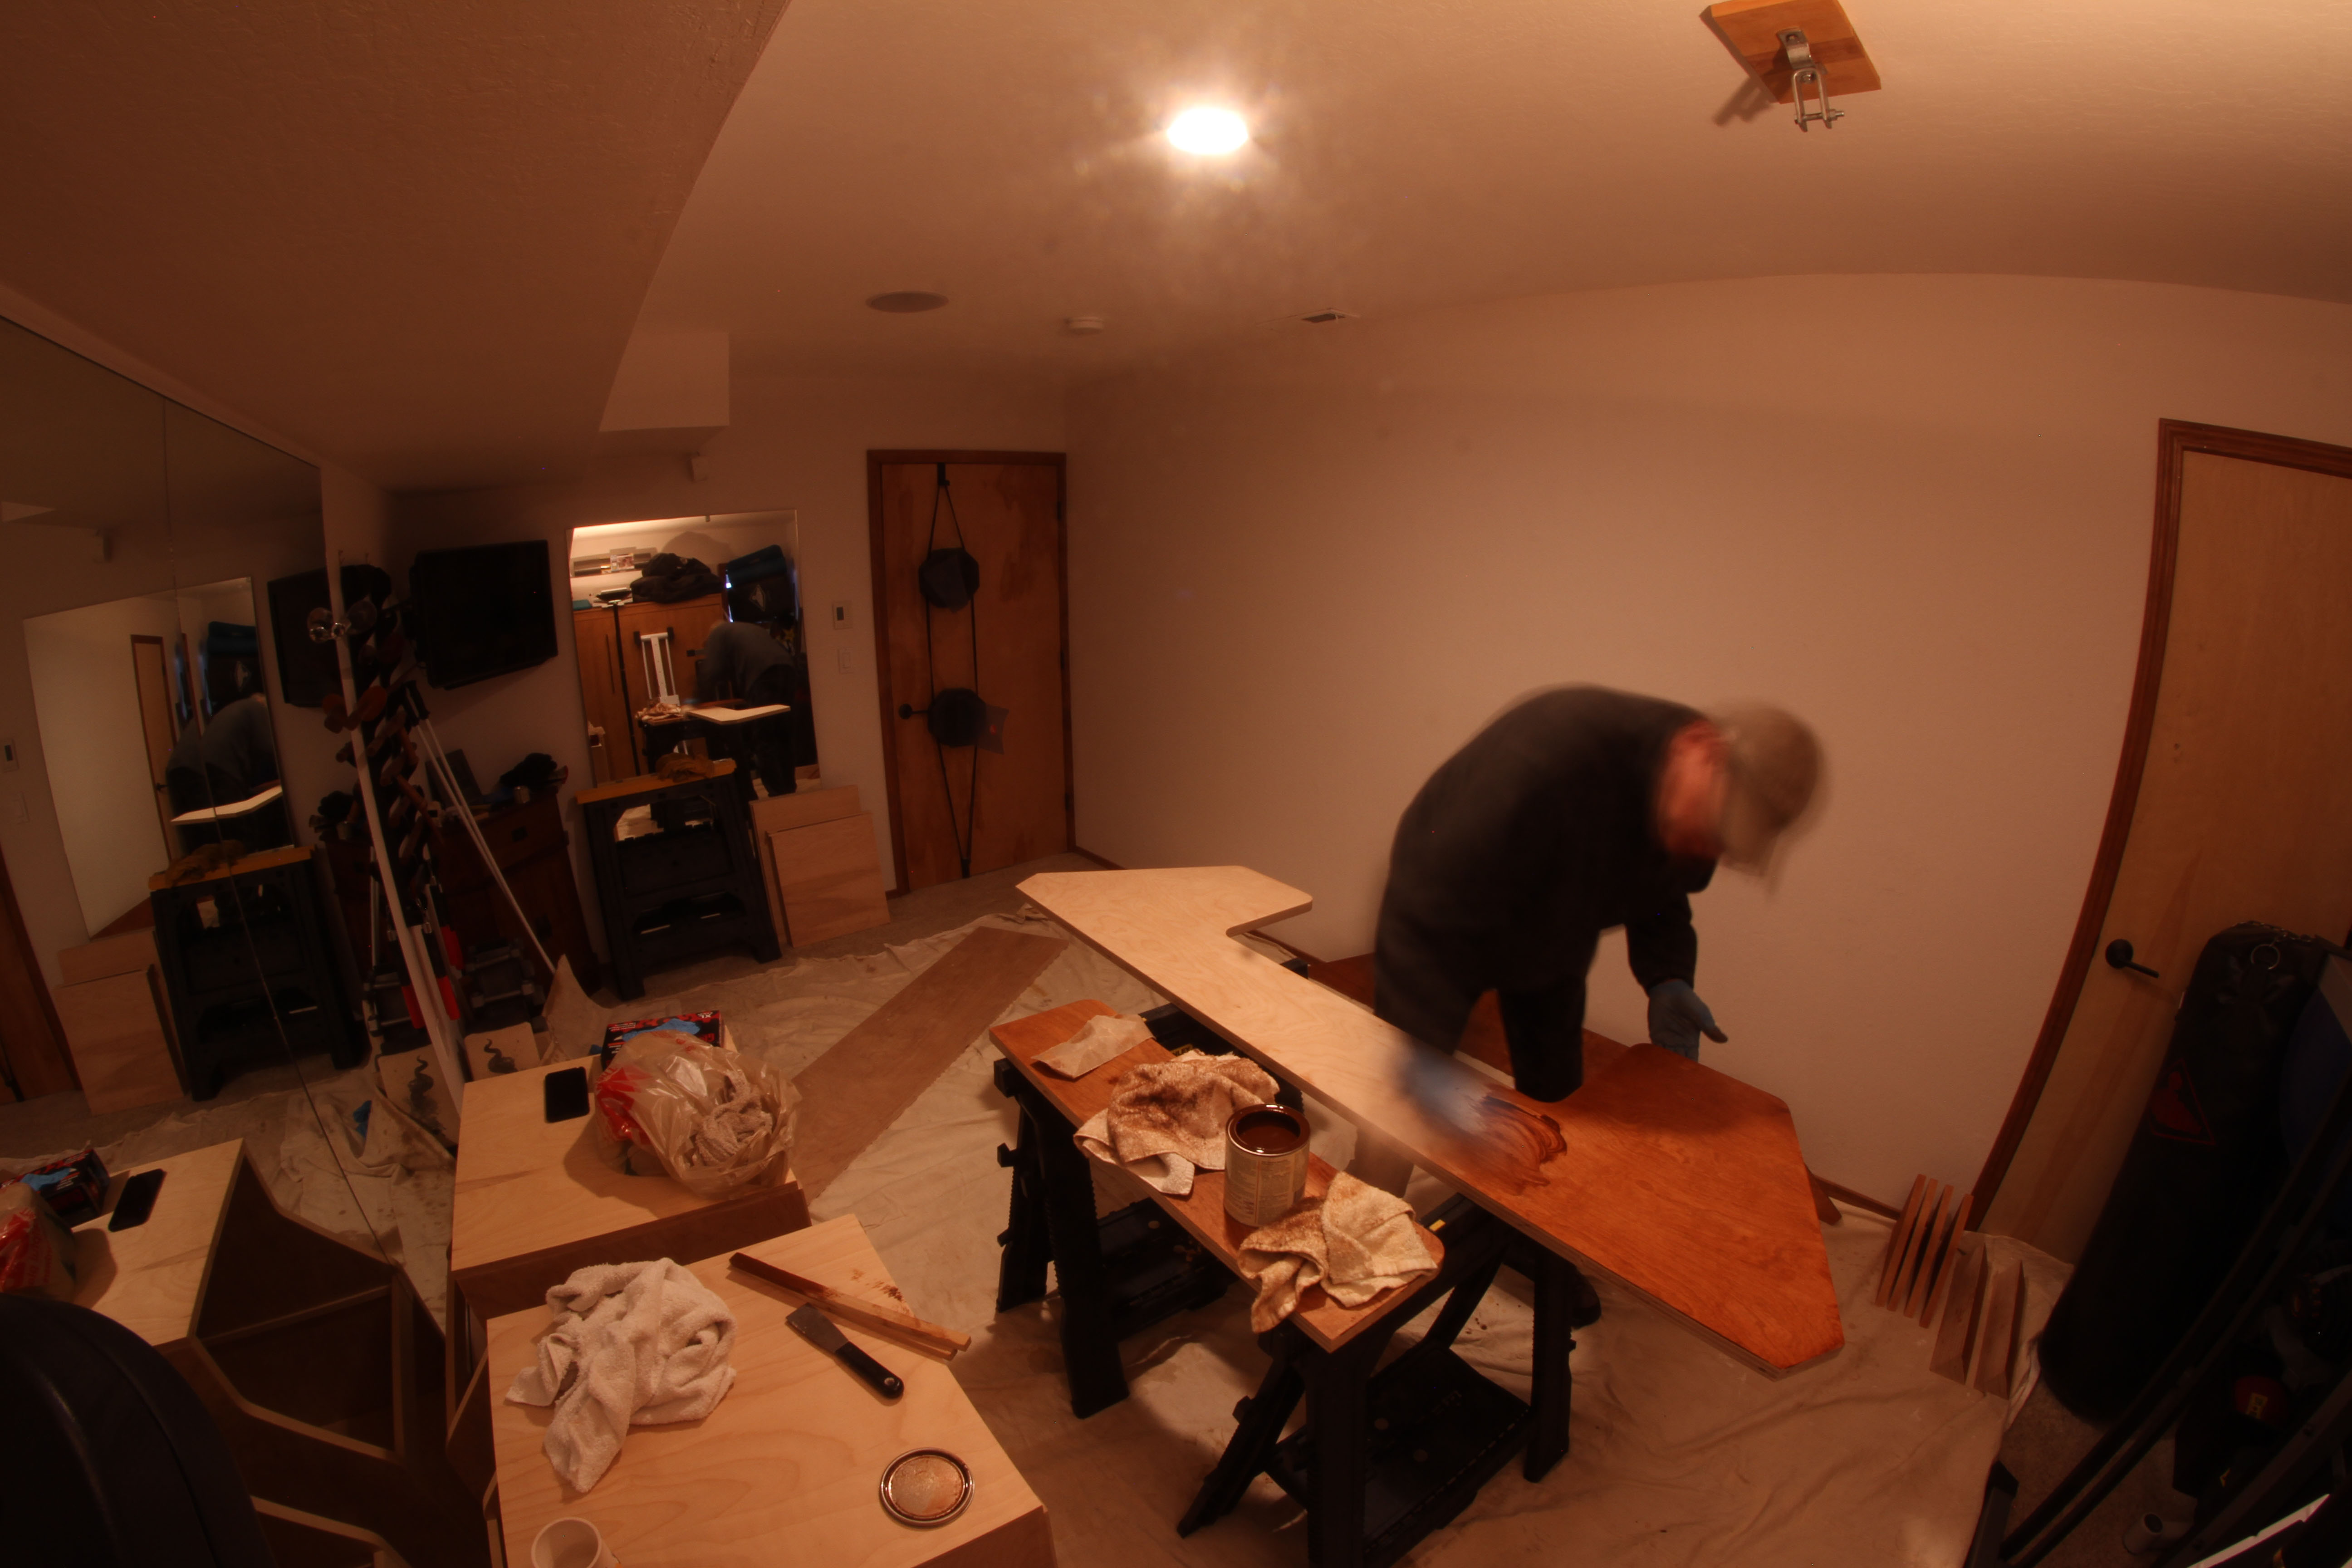
I hired a professional concrete fabricator for the job, but there’s nothing to say you can’t roll your own and save yourself a thousand dollars or more. There’s plenty of help available on the Internet, like this step-by-step guide from Bob Vila: How To: Make Concrete Countertops. On the bright side, there’s no heavy machinery or lengthy apprenticeships required – just some trial and error. And, you’ll learn a valuable new skill – a trade you can fall back on when – sorry, if – your records don’t go multi-platinum. I know what you’re thinking: “Flummery!”
Speaking only of aesthetics, I’m thrilled with how this concrete desktop turned out. It looks and feels great, as the centerpiece of your studio should. And its overwhelming mass means it’s impervious to sympathetic resonances.
It’s tough but not bullet-proof – a screwdriver will leave a nice scar if you’re not careful. And it will certainly put a dent in your guitars too, so be mindful when thrashing.
Russian Intervention
Speaking of rigidity, a 200 lb. concrete desktop (never mind your 100 lb. MIDIBoard) requires proportional support.
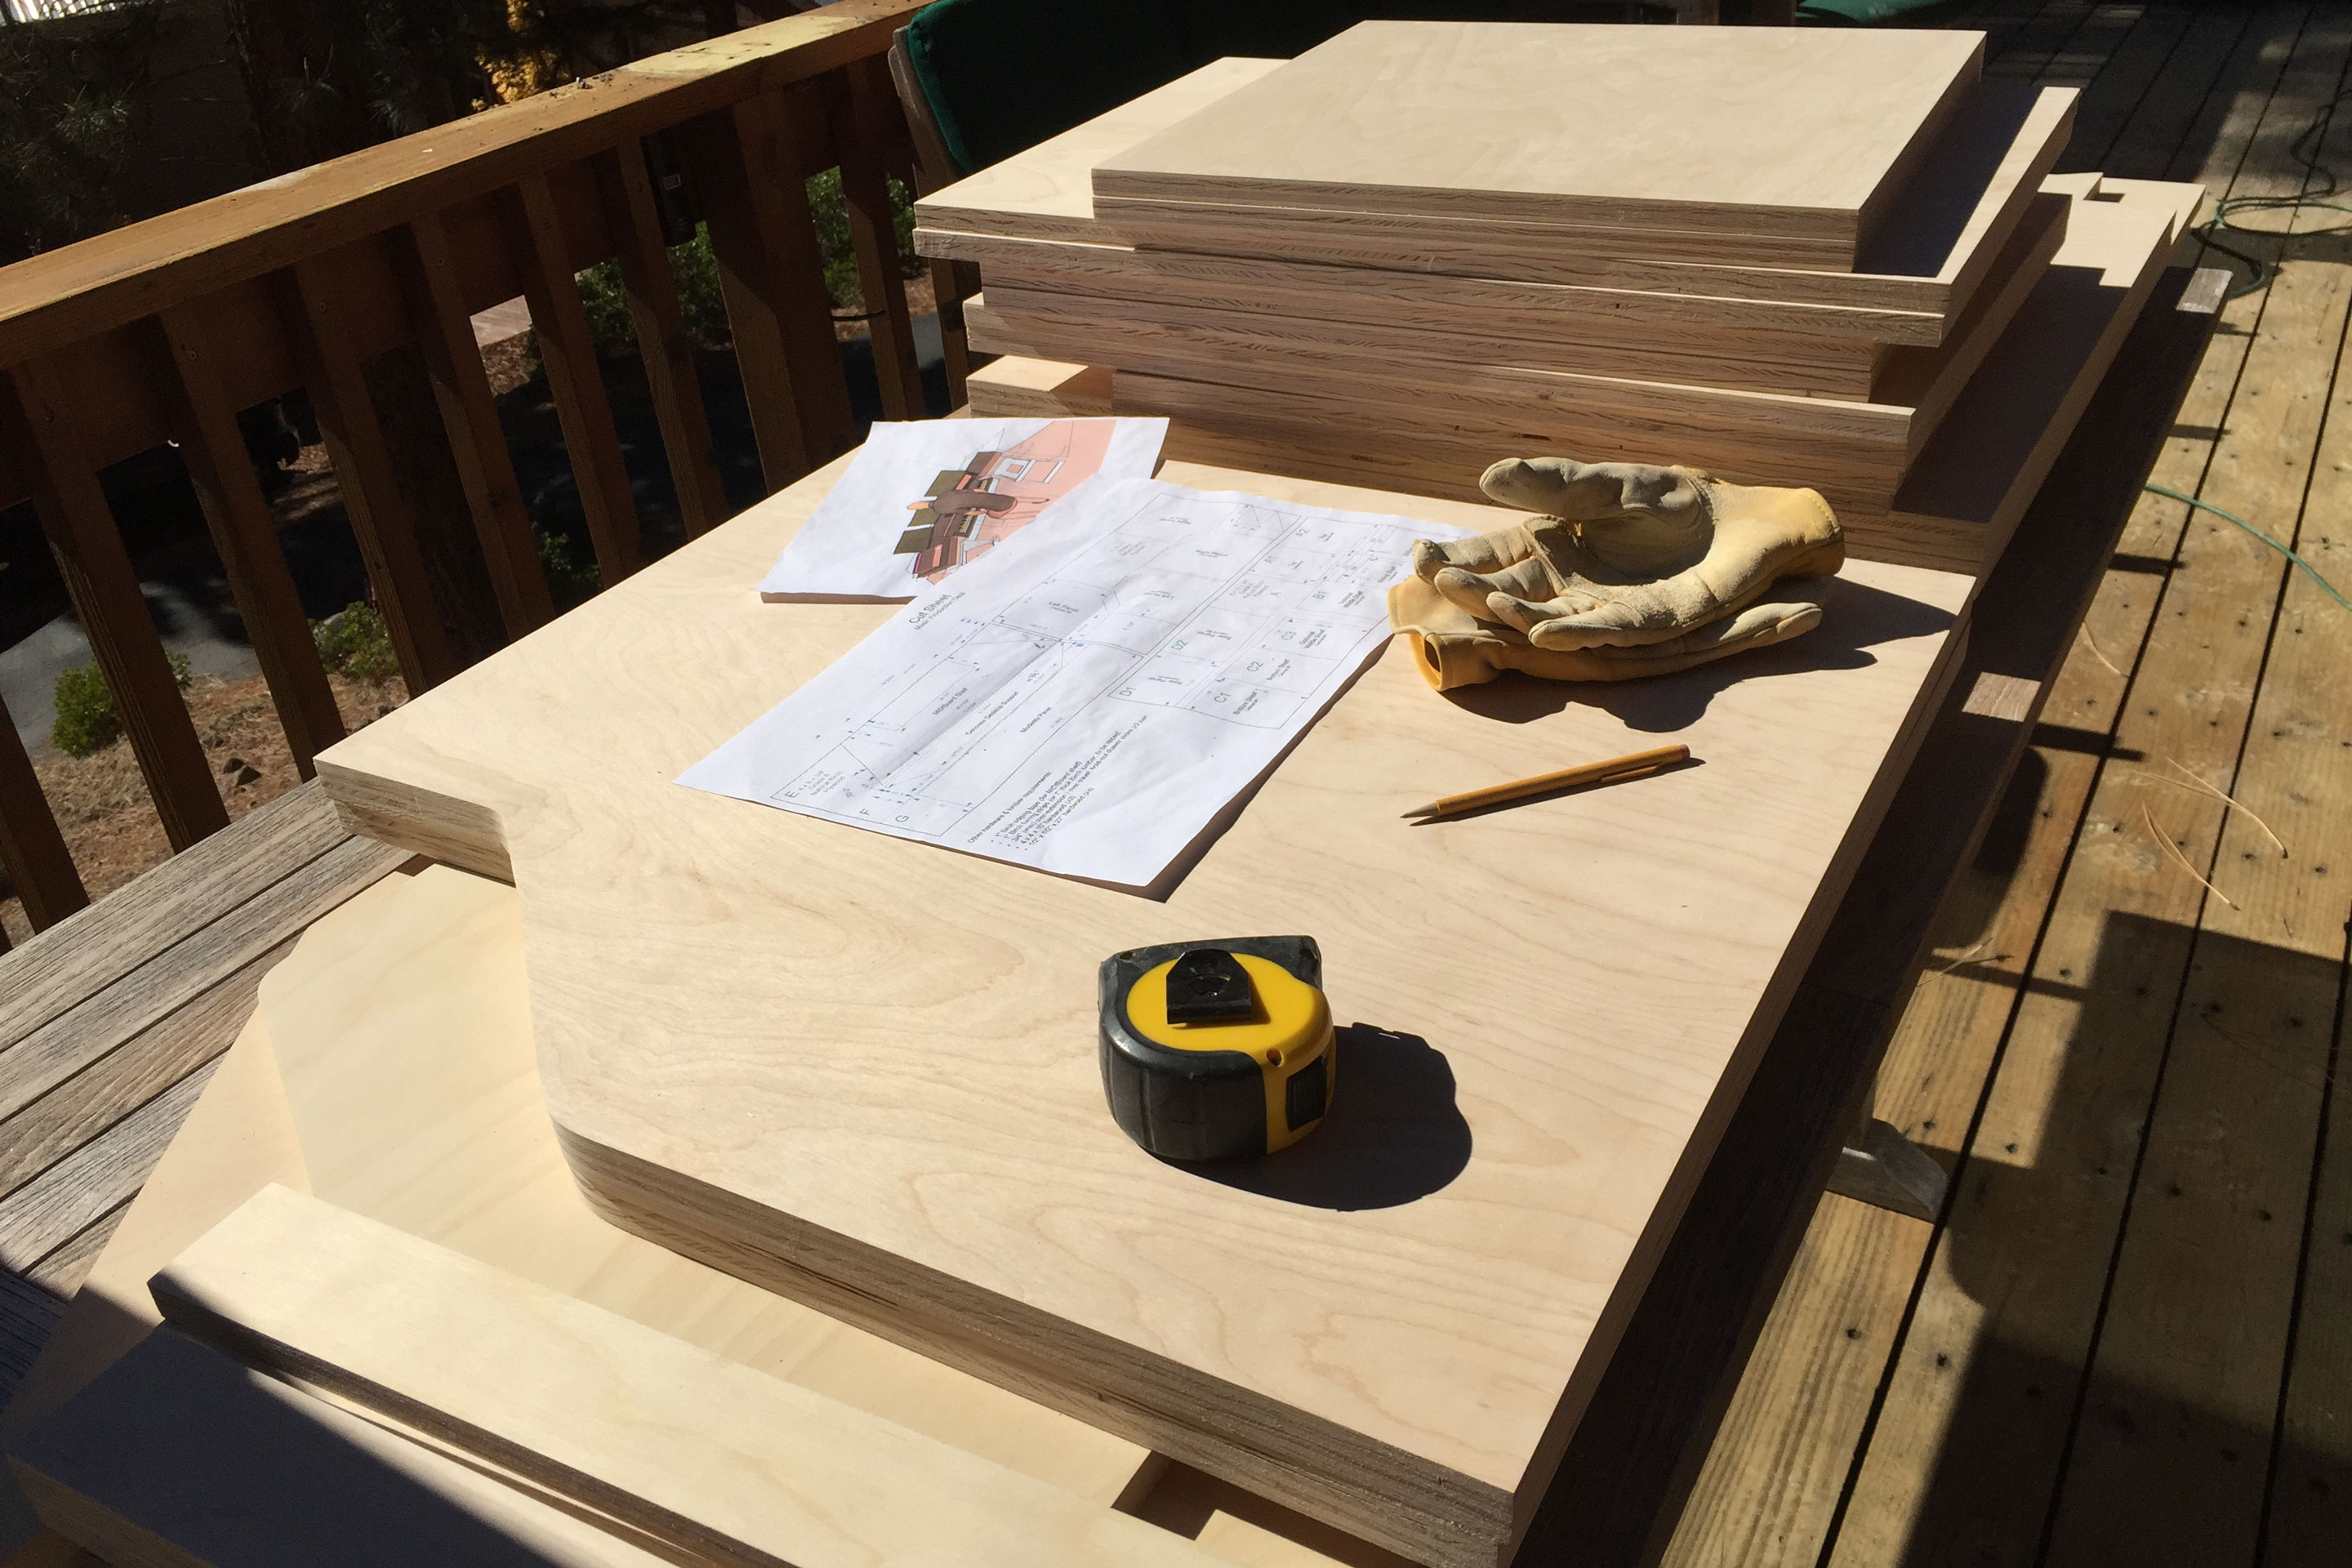
For its strength and furniture-grade cosmetic appeal, this project makes heavy use of Baltic Birch plywood. And when I say “heavy,” I’m talking about the beefy 1″ sheets – at least, for the big pieces. Unlike other plywoods, Baltic Birch can be worked like regular wood and accepts any kind of joinery, from screws to biscuits to complex half-blind dovetail joints.
Baltic Birch is a specialty item that isn’t stocked by the big-name home improvement centers or even your local lumber yard. My local lumber yard forwarded me to a supplier who had it in stock (but labeled “Natural Birch”), but I had to pick it up – they wouldn’t deliver. Ask for “One-Inch Grade A Baltic Birch.”
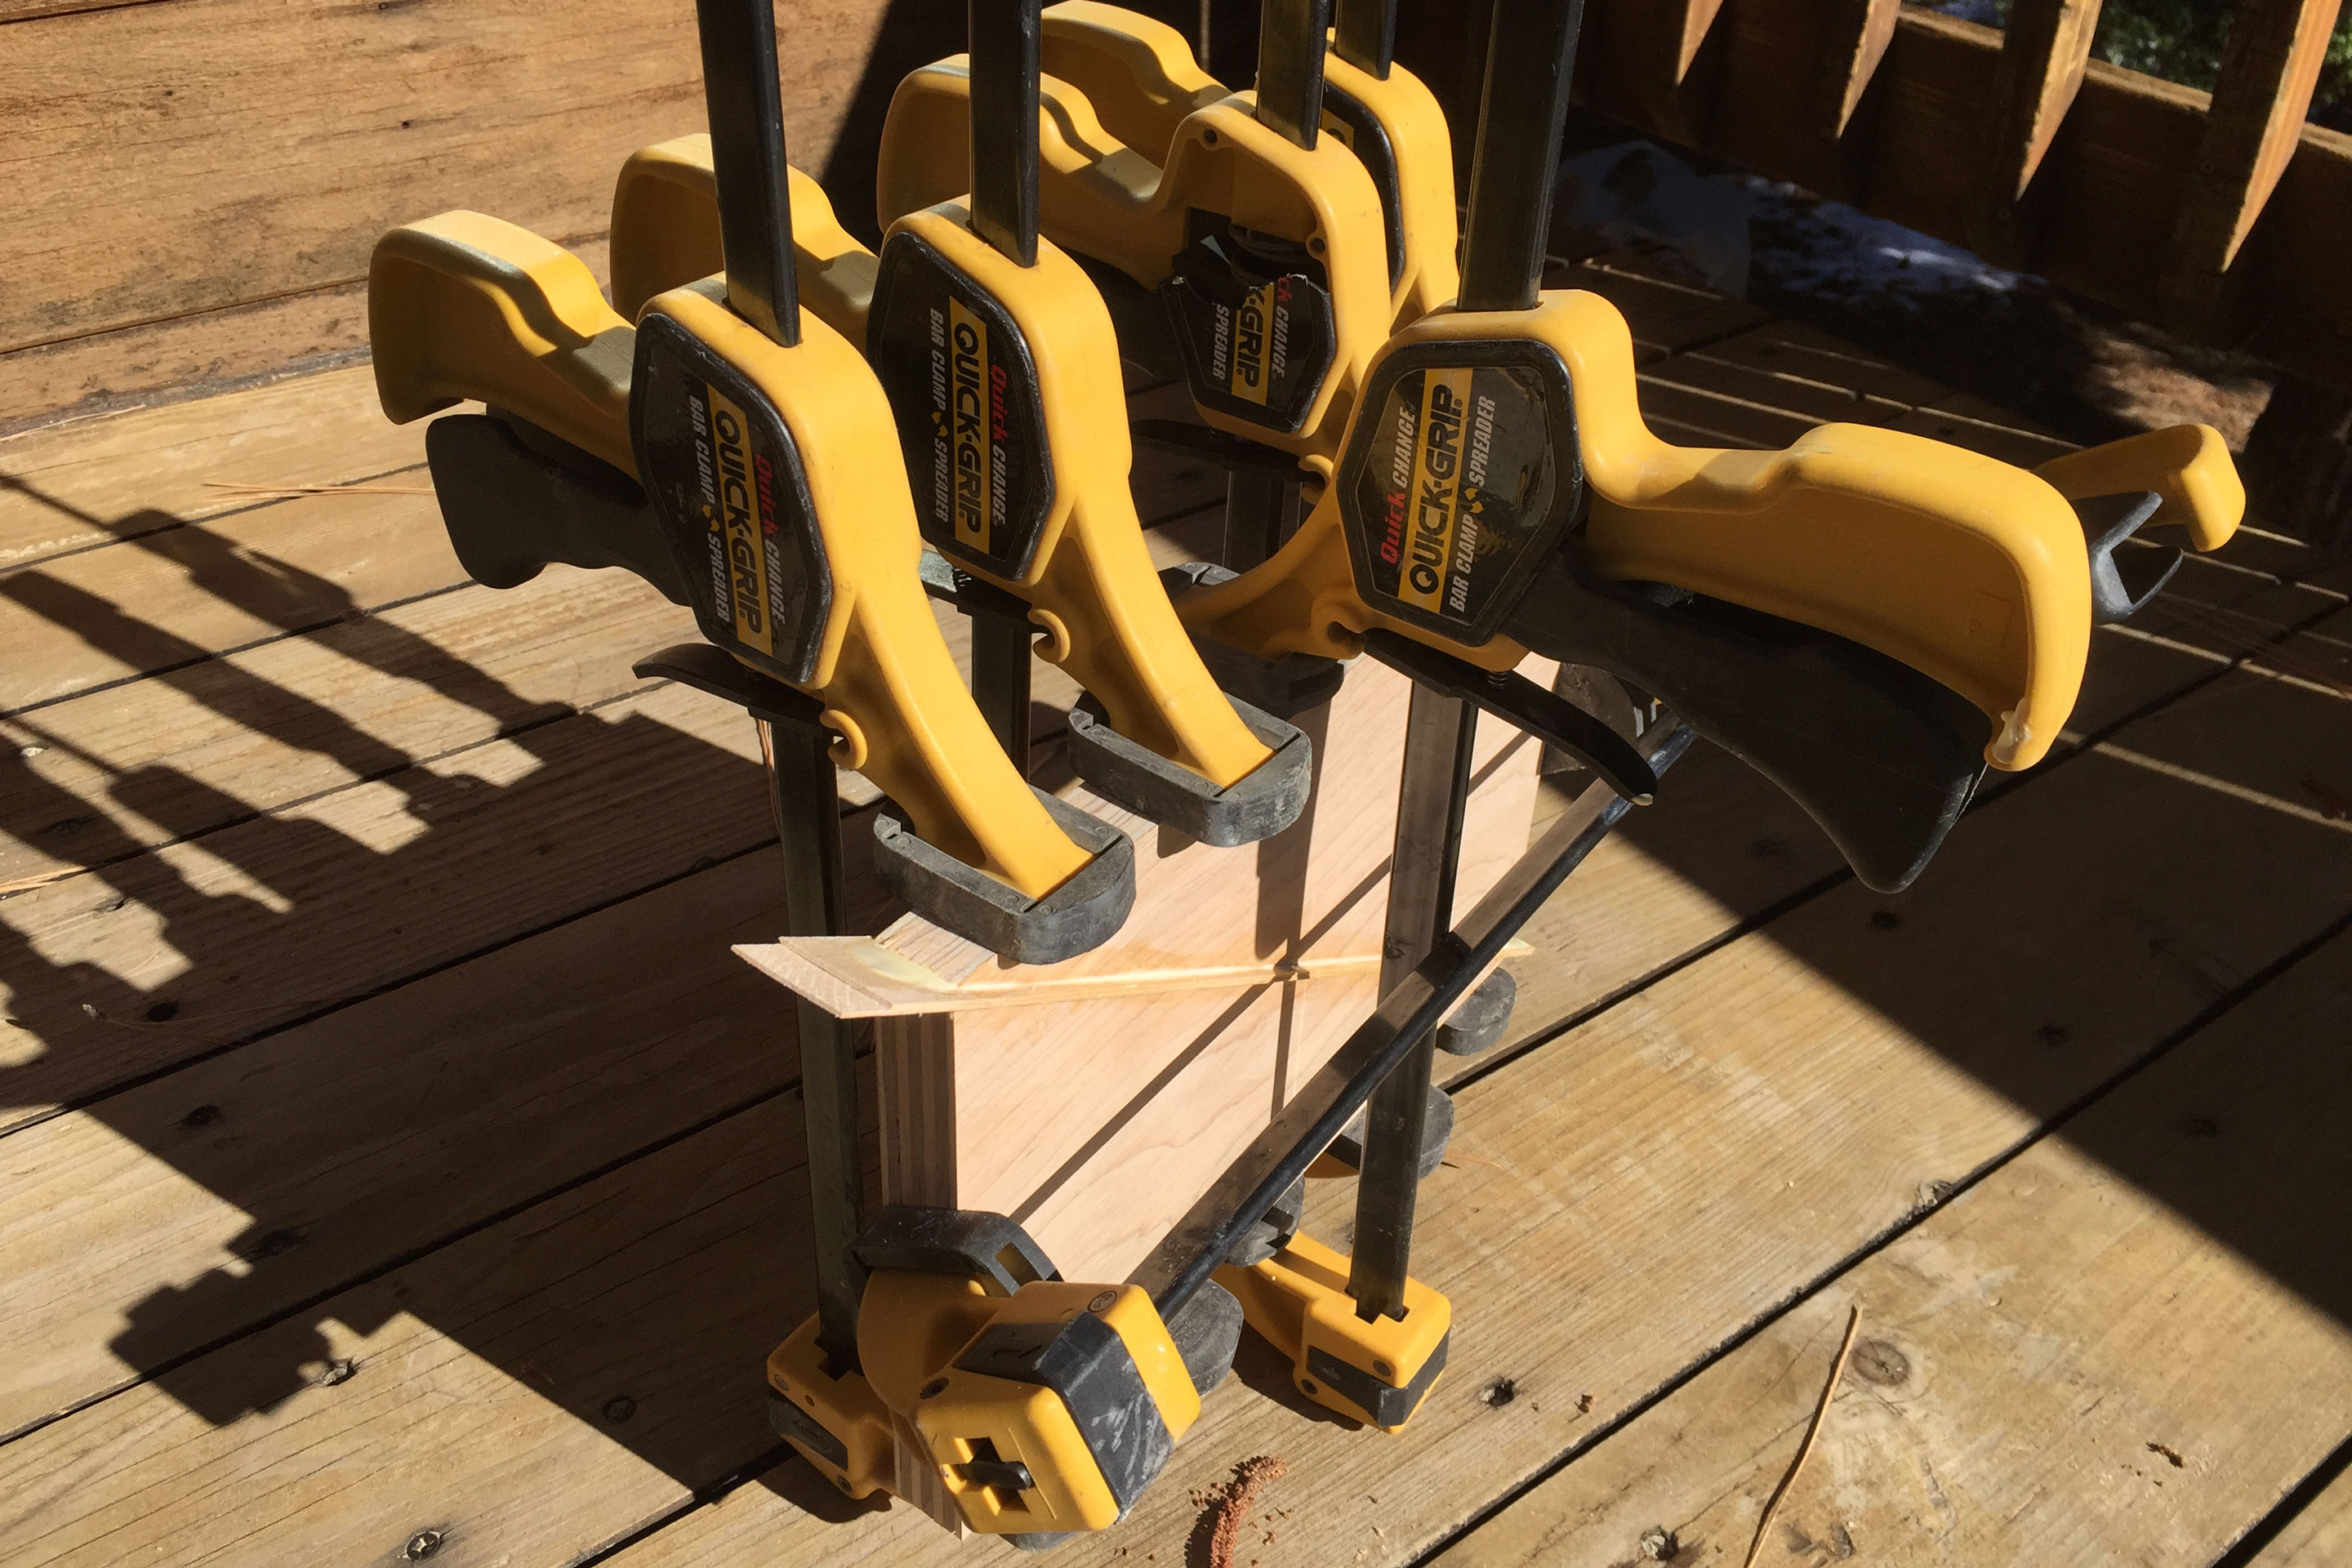
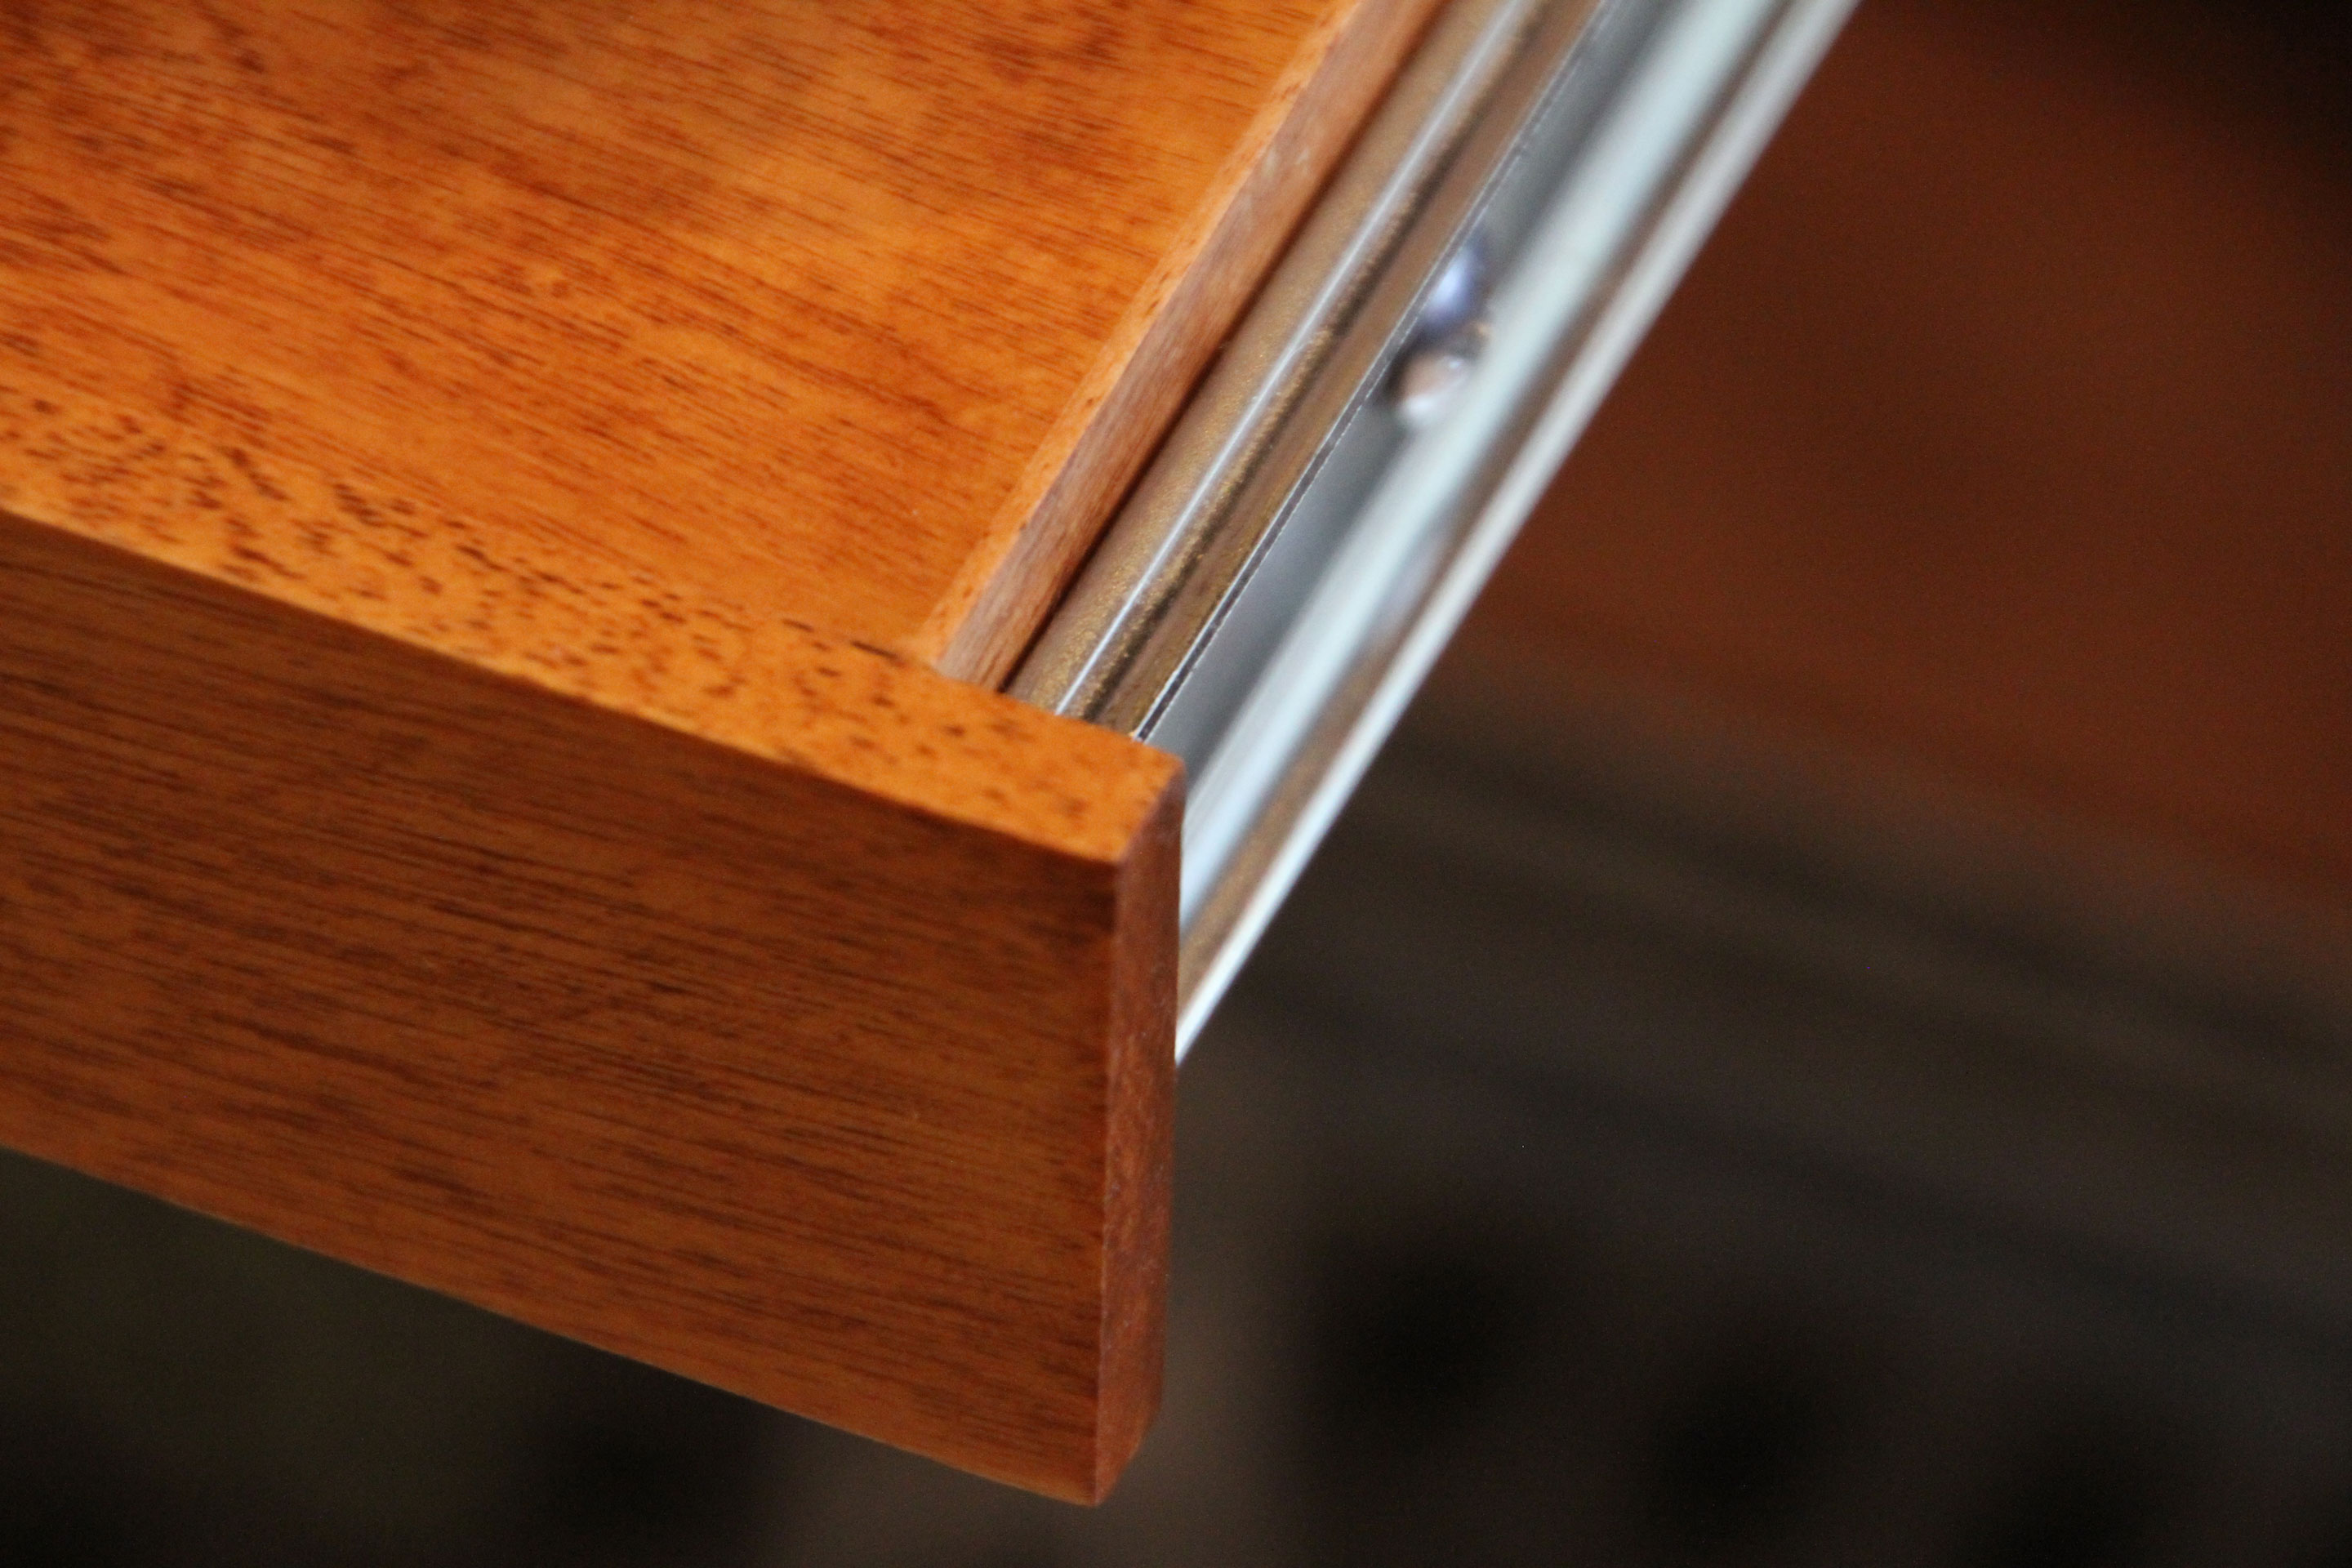
If you intend to paint your desk, rather than stain it, you can skip all the edge-banding nonsense which, to warn you, was probably the most tedious part of this project. I dislike hard edges, so I ripped my own 1/16″ edge banding and rounded the corners with fine sandpaper. So many clamps. So much glue. So much waiting. Then again, you needn’t necessarily paint either – the edges of Baltic Birch plywood aren’t unattractive, so you could certainly stain the unfinished edges and be perfectly happy too. It’s a matter of taste (and patience).
What You Will Need
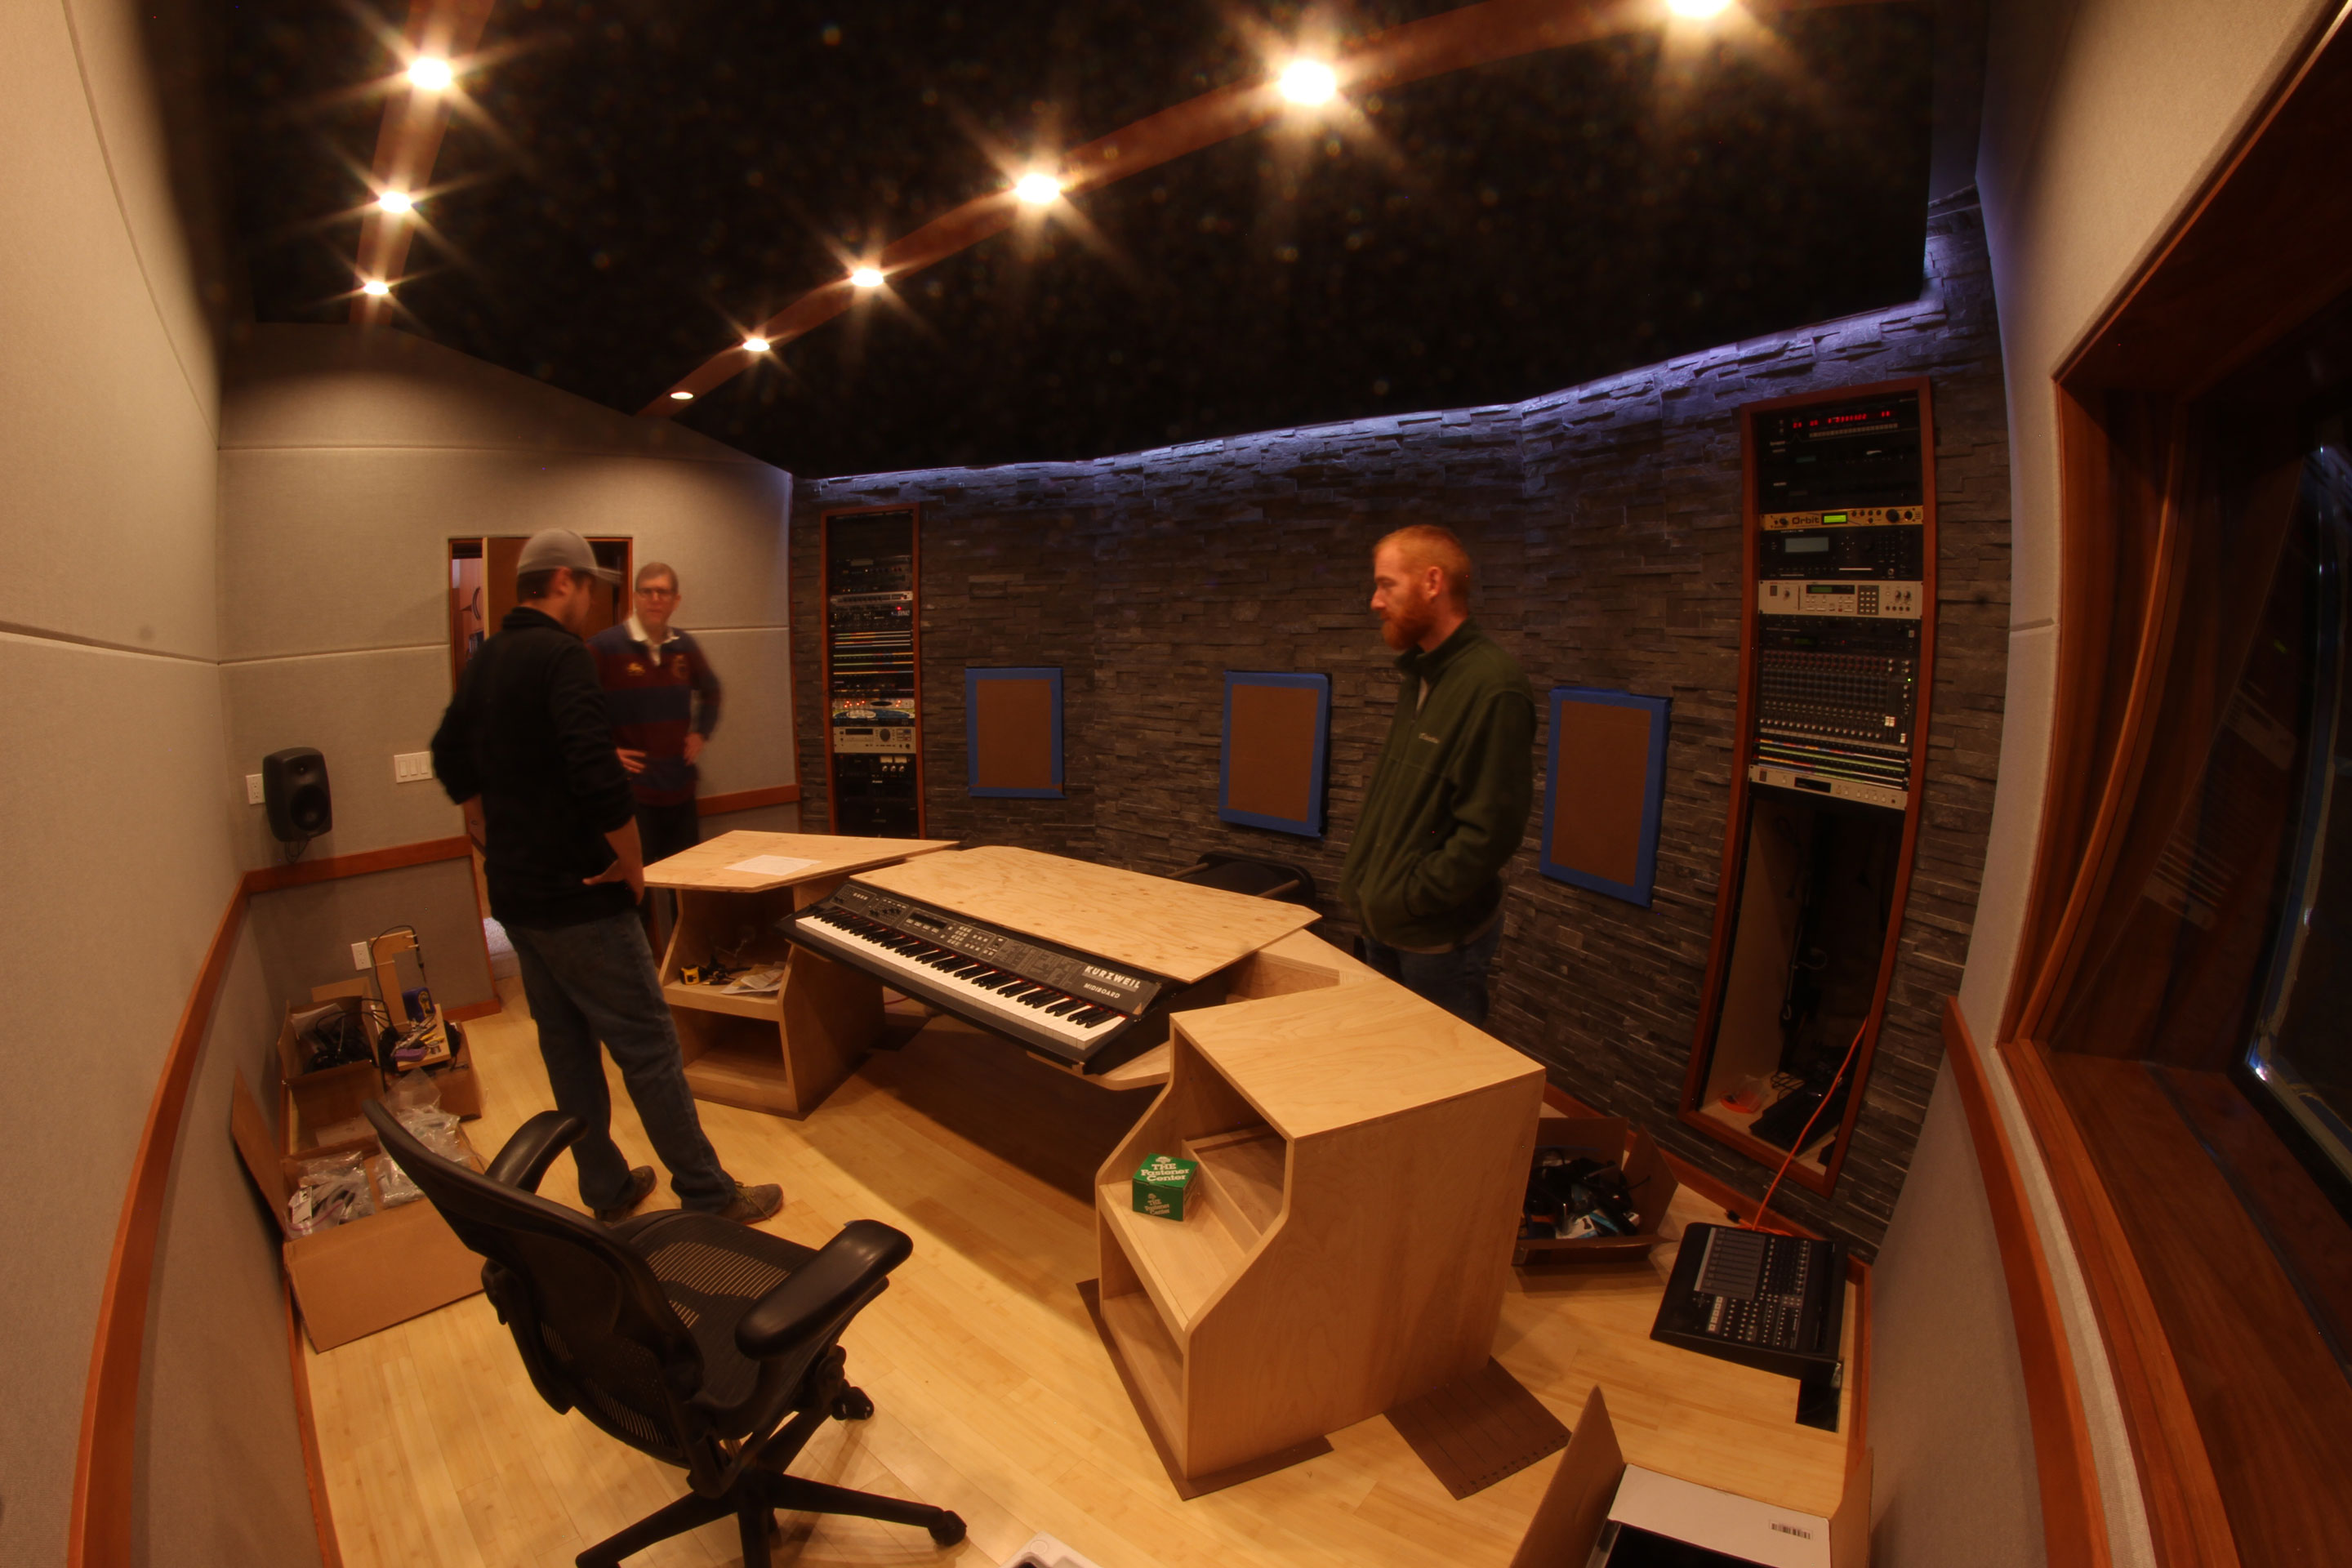
This project requires moderate woodworking skills and, if you choose to go 100% DIY, concrete fabrication skills (and at least two friends to help you move the 200 lb. piece around).
Here is a partial list of the tools you will need:
table saw • circular saw • jigsaw • miter saw • belt sander • biscuit joiner • drill • screw gun • pipe clamps (3′ pipe, minimum) • tape measure • 8′ level • T square • compass • protractor
Construction Steps
A breakdown of steps to build this desk follows:
- Read these instructions completely. They include options that may affect the dimensions of some pieces. For example, if you opt out of edge-banding, your sliding shelves will require 1/8″ more width. Or, if you opt for a different model of drawer slides, it may affect the width of your sliding shelves. Also, these instructions make thorough use of your scrap lumber, so don’t cut your scraps down or throw them away prematurely. In particular, consider Steps #10 and #11 and perhaps pencil them into your cut sheets.
- Purchase Materials. Get your lumber, including: two 4′ x 8′ sheets of 1″ Grade A Baltic Birch plywood, one 4′ x 10′ sheet of 3/4″ Baltic Birch plywood, and additional birch lumber for the removable shelf supports (four pieces, each measuring 1/4″ x 3/4″ x 24″), sliding shelf faces (two pieces, measuring 1 1/2″ x 18 7/8″ x 1/4″), and edge-banding (optional, multiple pieces of various lengths, measuring 1 1/8″ x 1/16″ or larger, to taste). A single length of birch can answer all of these requirements, but depends on whether or not you will do your own edge banding and, for the longer pieces, whether or not you’re okay with seams in your banding, for example. Order two pairs of 3/4″ over-extension / over-travel, hold-out drawer slides (e.g., “Holdahl Company KV 8400 Series Full Extension Precision Ball Bearing Slides 20″ 100# Class (Set) w/ Hold Out”). Order up to four pairs of 19″ rack rails in 10 1/2″ lengths. [You might need to cut longer lengths down. If so, you’ll need a metal cutting blade for your miter saw.]
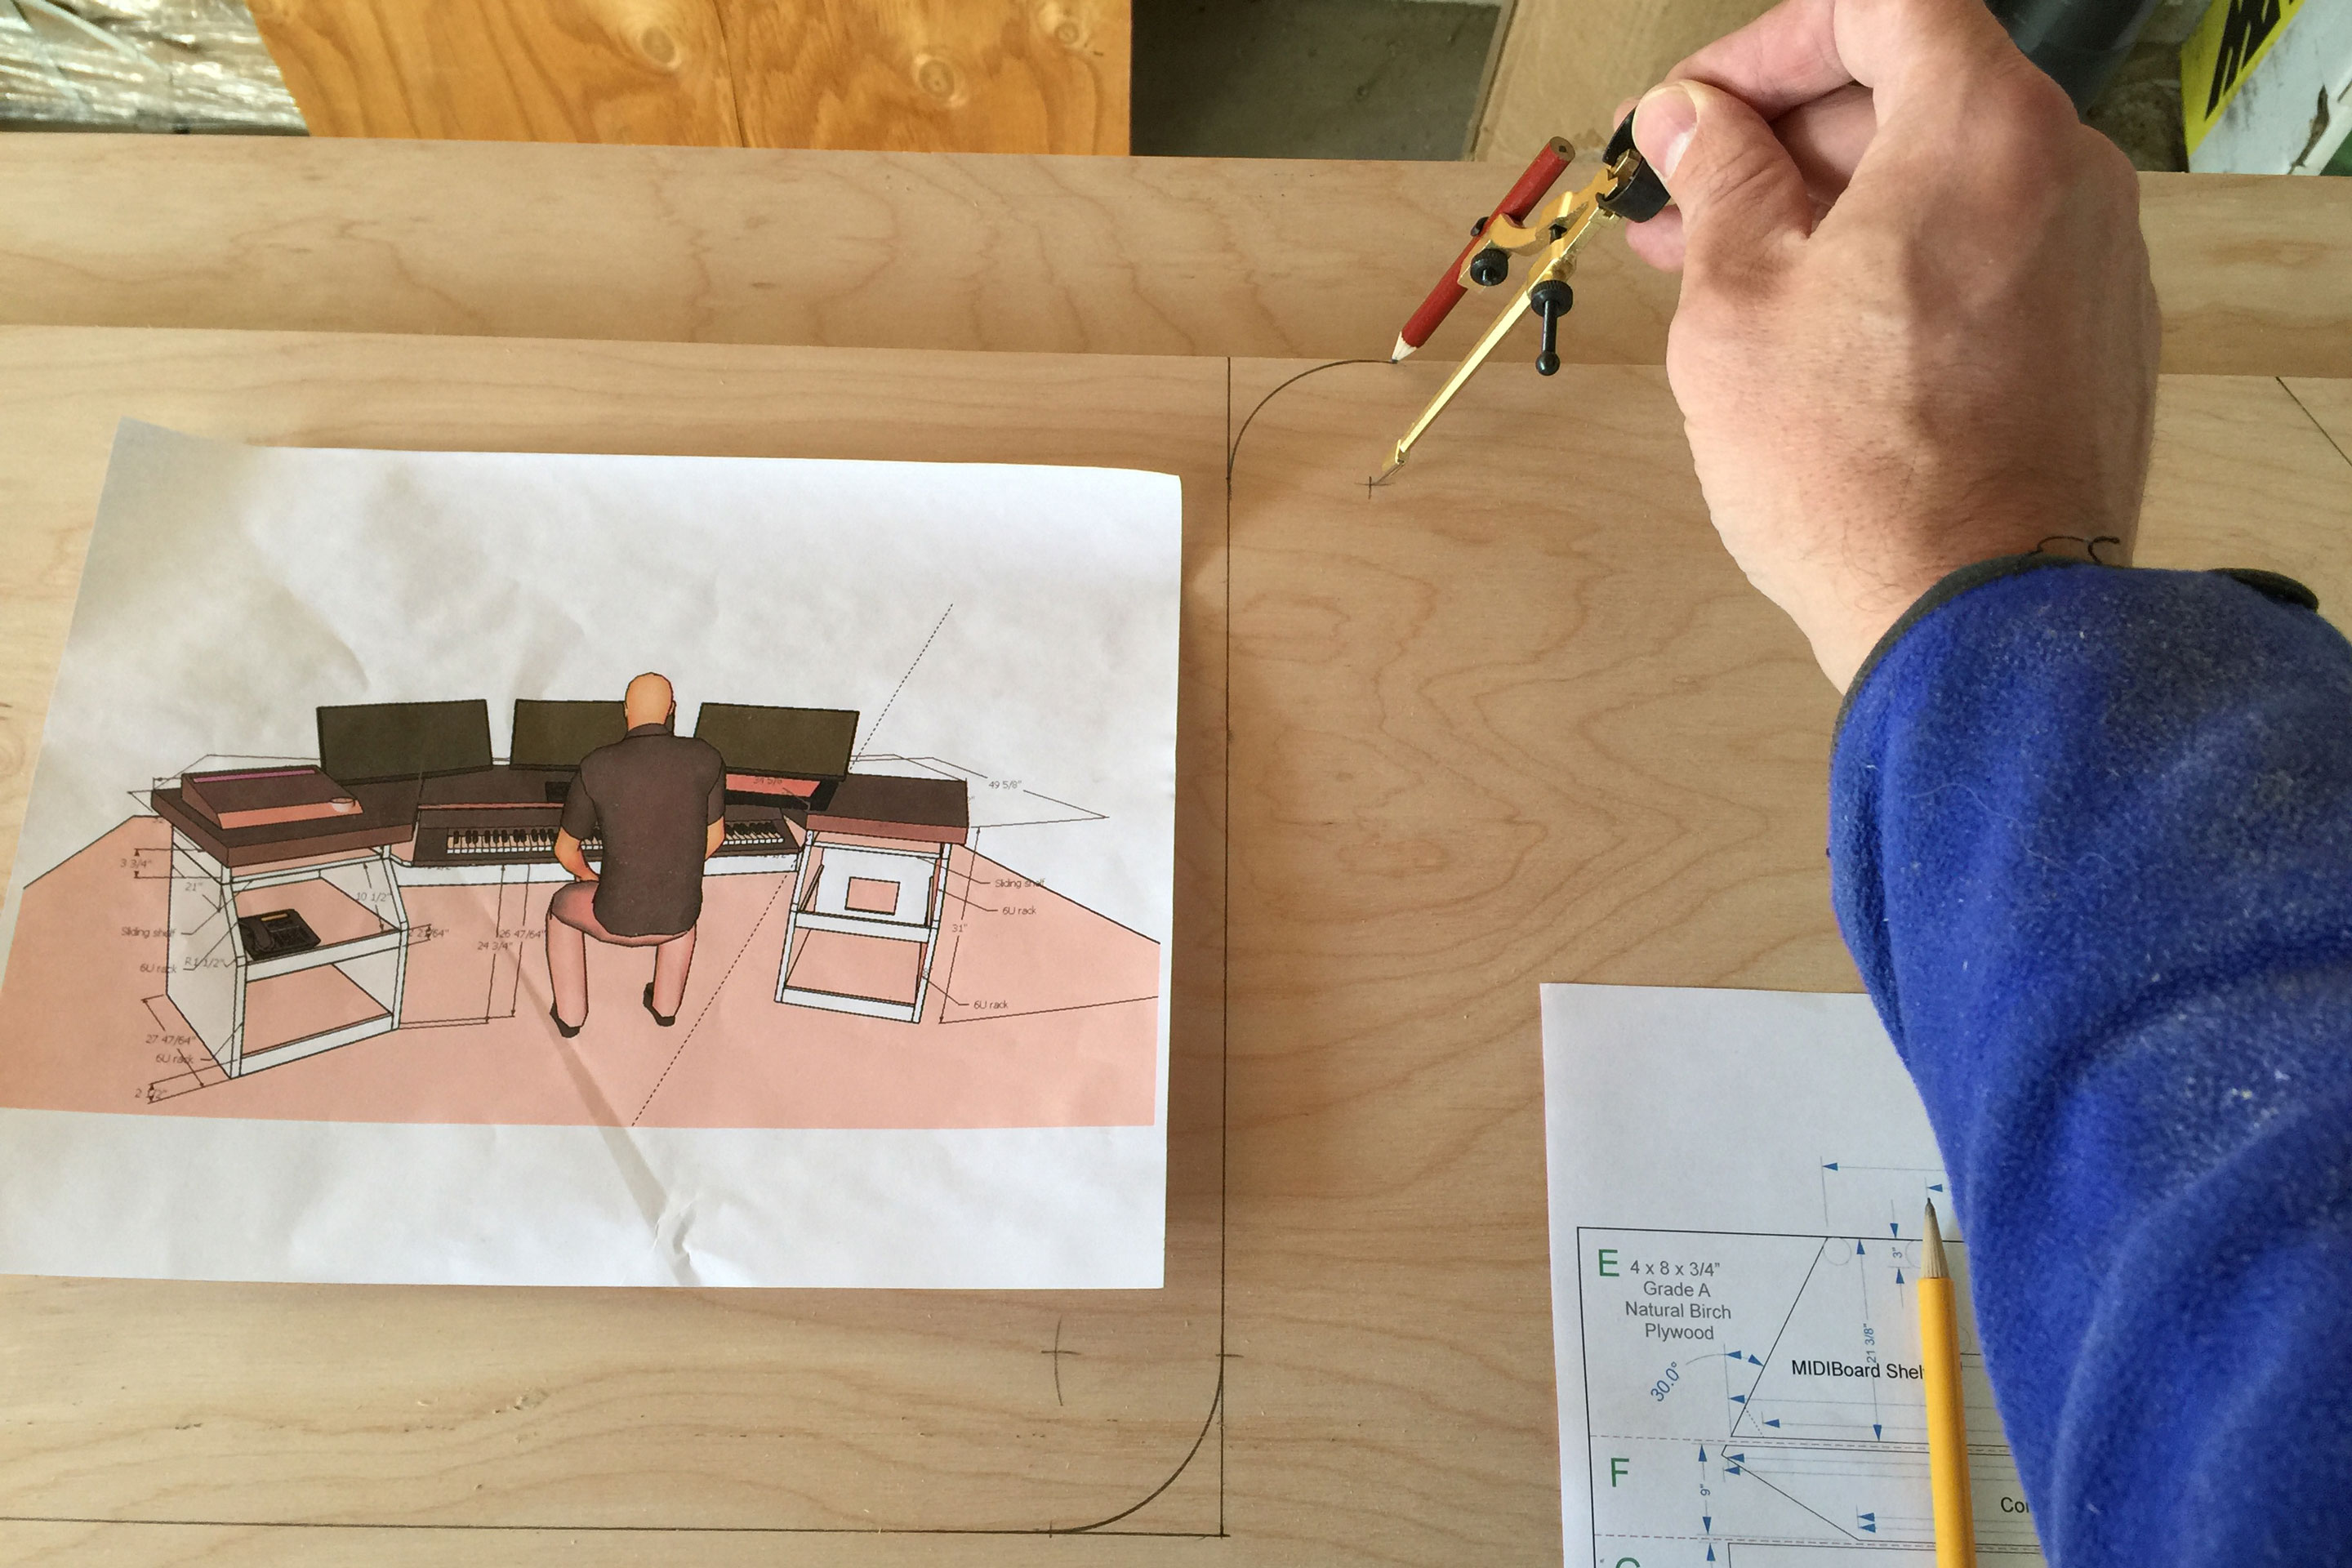
- Transfer Dimensions from Cut Sheet. With tape measure, compass, T square, and level or other long straight edge, transfer cut lines from the cut sheet to your plywood sheets.
- Rough Cuts. The plywood sheets are heavy and unmanageable, especially when using a smaller portable table saw which might not stay put when pushing heavy materials through it. So, for safety and nice, clean cuts, I recommend first breaking down your plywood sheets into more manageable pieces. A circular saw works nicely for this.
- Cut the Pieces. With table saw, circular saw, miter saw, and jigsaw, carefully cut the pieces from your plywood sheets. Be sure to use furniture grade blades on all but the jigsaw (which requires a heavy-duty blade to cut squarely through heavy materials). On that note, jigsaw blades (even heavy-duty ones) are notorious for flexing, potentially cutting into your piece on the reverse side of the sheet, so give yourself plenty of room for error.
- Bevel Cuts. The modesty panel requires 30° bevel cuts at it’s short edges. You’ve already cut this piece to length, so it’s simply a matter of shaving away the underside without otherwise reducing the overall length of the piece. For this, you’ll need an edge guide. I clamped a T square to the piece, making sure the clamps wouldn’t impede the saw but, in retrospect, a piece of scrap lumber would’ve been the better choice (assuming it’s straight), being that a large enough piece would’ve afforded the clamps more distance from the saw. Something to consider.
- Sand Your Cuts. With a belt sander, smooth your edges – especially your radius cuts which, again, will probably be unsquare. For uniformity and efficiency, clamp identical pieces together and sand all of the radius corners to match.
- Sand Your Pieces. With palm sander and low grit sandpaper, smooth all of your pieces, ideally erasing any marks and scuffs. Do not round corners if you anticipate applying edge banding.
- Edge Banding (Optional). Rip 1 1/8″ wide birch lumber into 1/16″ strips. Glue the edge banding to your plywood edges and use plenty of clamps for a nice, tight bond. Wipe away all excess glue with a moist rag or paper towel. As necessary, work in sections, being sure to squeeze out all of the glue, so there’s no bumps between glued sections. For radius corners, a jig may prove valuable. Cut jigs from plywood scraps and cover with a blanket or heavy towel. Then, glue your edge banding, sandwich with towel and jig, and clamp firmly. Again, be sure to wipe away all excess glue. On the straight rear edge of the cabinet side panels, I chose 1/4″ edge banding instead, just for decoration. More or less is fine – it won’t affect assembly of the desk later.
- Build Triangular Connecting Blocks. Cut four pieces of 1″ Baltic Birch scrap into 4.5″ x 17.5″ pieces. Glue the four layers together, creating a ~4.5″ square ‘log’ and clamp firmly. Let dry. With table saw angled at 30° and the “pretty” faces of the log pointing up and down, cut the log into a 4″ equilateral triangle, such that one of the “pretty” faces remains unharmed. Then, with miter saw, clean up both ends of the log by shaving its length down to 17 1/4″. Repeat so you have two such triangular connecting blocks.
- Build the Sliding Shelves. To support the beefy drawer slides, you’ll need to build up the 3/4″ sliding shelves to 1 1/2″ inches of apparent thickness. For this, rip some scrap 3/4″ plywood and glue it to the underside of the shelves at their lateral edges. Then, wrap the edges with 1/16″ edge banding and finish neatly with sanding paper. Finally, attach the fascia pieces with glue. Again, these fascia pieces are solid birch, measuring 1 1/2″ x 18 7/8″ x 1/4″. If you want extra weight and stability in your sliding shelves, you may instead cut the shelf pieces from your 1″ plywood “H” and “I” sheets. You’ll still need to build up the edges, of course.
- Cabinet Assembly. The cabinet members include two matching side panels, two front pieces (e.g., B3 & B6), a bottom shelf (e.g., C1), a top panel (e.g., A1), a rear panel (e.g., D1), and a removable center shelf (e.g., B1). Using a biscuit joiner, construct the two cabinets, first dry fitting the pieces together. The top panel should rest on the two side panels so that their front edges are flush. [The back edges will be flush too, minus any decorative edge banding.] Join the rear panel to the underside of the top panel, so its face is flush with the rear edge of the top panel. The larger of the two front pieces should be mounted flush with the bottom and front edges of the side panels (minus any decorative edge-banding). The smaller front piece should be at least 10 1/2″ inches above the lower front piece, so that the rack rails and gear will fit comfortably. An extra 1/16″ isn’t a bad idea. The bottom shelf should be mounted so its top surface is flush with the top edge of the lower front piece. [The rear edge of the bottom shelf should fit snugly against the rear panel.] Glue hardwood firing strips 3/4″ below the top edge of the upper front piece, so that the removable shelf can rest on them. Gluing everything together can be awkward (and reveals the value of dry-fitting first). I recommend working sideways, with one of the side panels laid flat and then gluing the pieces in vertically. When the opposite side panel is laid on top, everything should snug up nicely. While the glue is still setting, nudge any pieces into ideal position. Then, holding everything together, rotate the piece upright and clamp together.
- Cross Members Assembly. The cross members include keyboard shelf, modesty panel, desktop support, corbels, and triangular connecting blocks. With counter-sunk pilot holes, screw the triangular connecting blocks to the modesty panel, such that the edge of the connecting block is flush with the angled edge of the modesty panel, and the connecting blocks overhang by one inch. Then, screw the connecting blocks to the cabinets such that the back of the modesty panel is flush with (or nearly flush with, to taste) the rear corners of the cabinets, and the tops of the triangular connecting blocks are flush with the tops of the cabinets. Next, dry fit the MIDIBoard shelf using clamps and temporary braces to hold it firmly in place. Then, screw the MIDIBoard shelf into the cabinets and modesty panel. Next, screw the corbels to the rear of the modesty panel such that the tops of the corbels (the shortest edges) are flush with the top of the modesty panel. Finally, rest the desktop support piece on the modesty panel and corbels and attach with screws.
- Design the Desktop. With 1/4″ plywood, create a disposable, mock desktop, beginning with dimensions much larger than you are likely to need. Make sure that the front edge (where you will sit) lines up with the top edge of your MIDIBoard’s control panel and that all overhangs are no less than 2″ from cabinet edges to allow for lamination. Test your desktop for ergonomics and acoustics (the “mirror test”) and trim away until you arrive at a shape you are happy with. Again, be sure to leave 2″ of overhang around the cabinetry. Call your concrete fabricator and supply your mock desktop. This will serve as a template for their concrete mold. Be sure to tell your fabricator that the desktop should be no more than 1″ high with a 1″ minimum lamination at the edges (mine is 1 1/2″, for a total height of 2 1/2″ – it looks very masculine), except on the front edge, where the MIDIBoard rests. It is critical that this one edge has no buildup. See the “Desktop Template” drawing, below, for details.
- Staining / Painting. Dismantle the cross members and finish all of the cabinets and cross member pieces to taste.
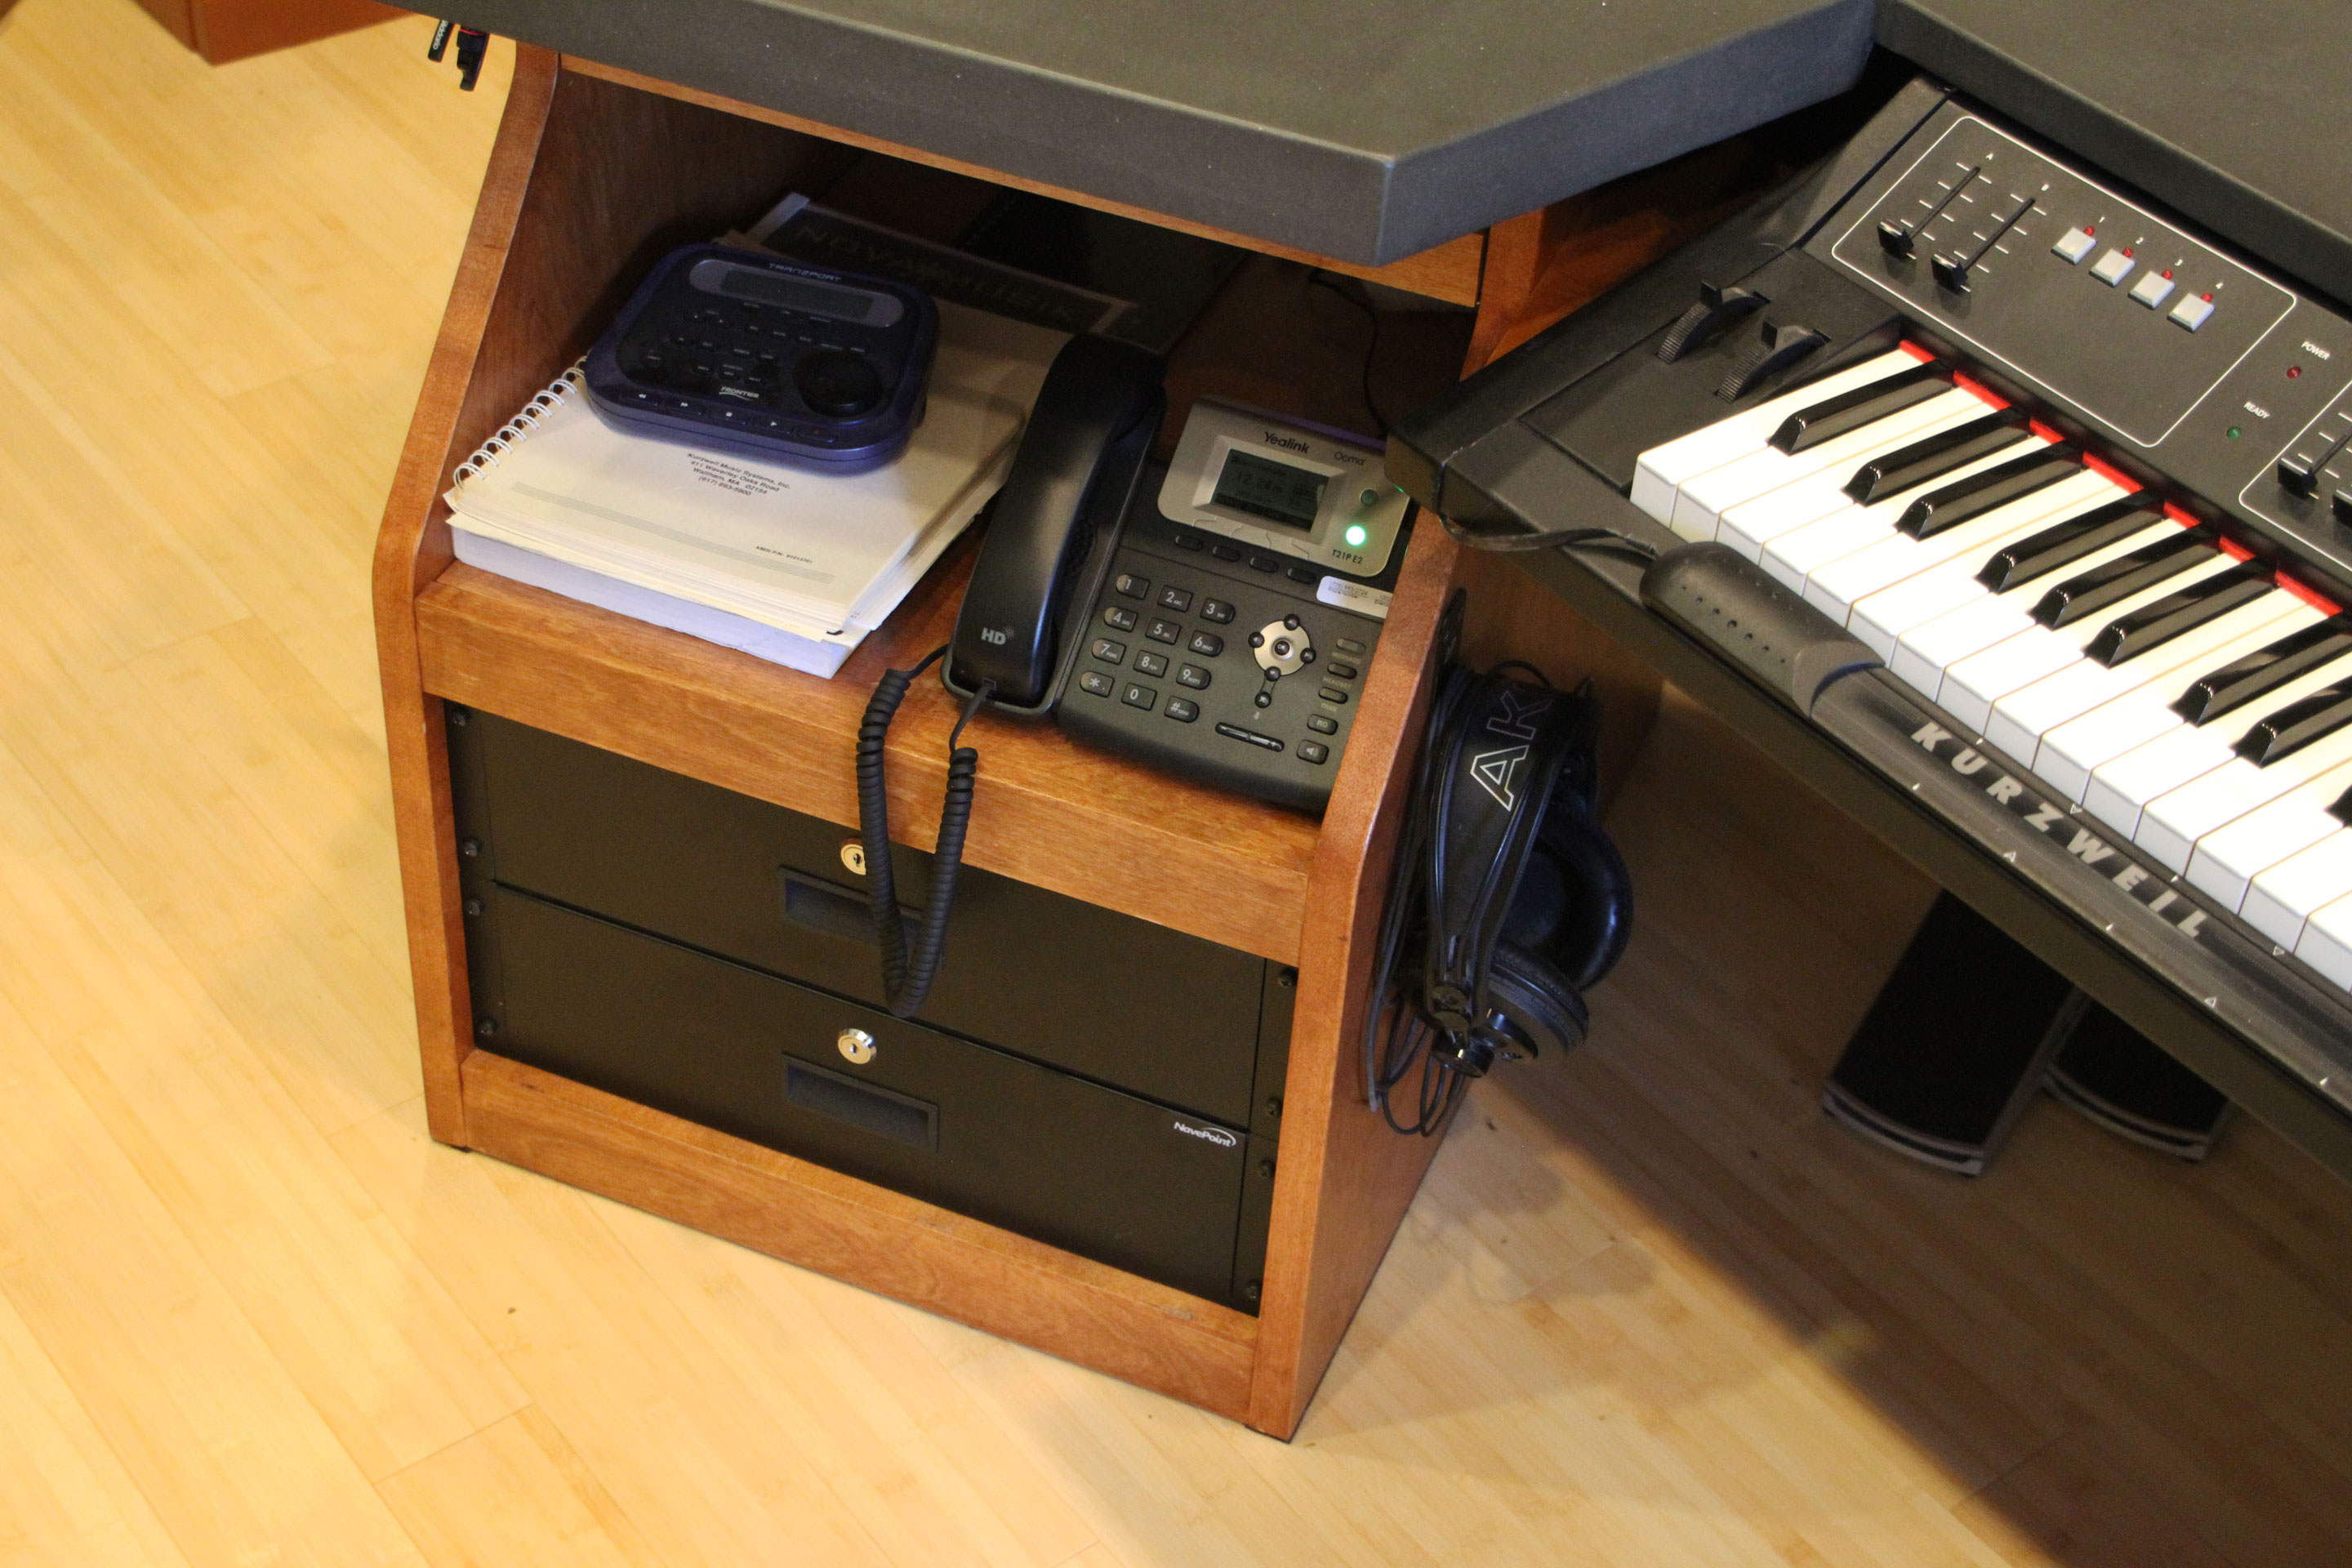
- Add Floor Protectors / Glides. If your studio employs a hardwood floor, you’ll want the freedom to nudge your desk into ideal position without necessarily scratching your floors. Strips of adhesive 1″ felt are ideal for this. Attach them to the full lengths of the bottom edges of the cabinets and you’re all set. If your studio is carpeted, you’ll need another solution. Good luck.
- Reassemble. Put everything back together.
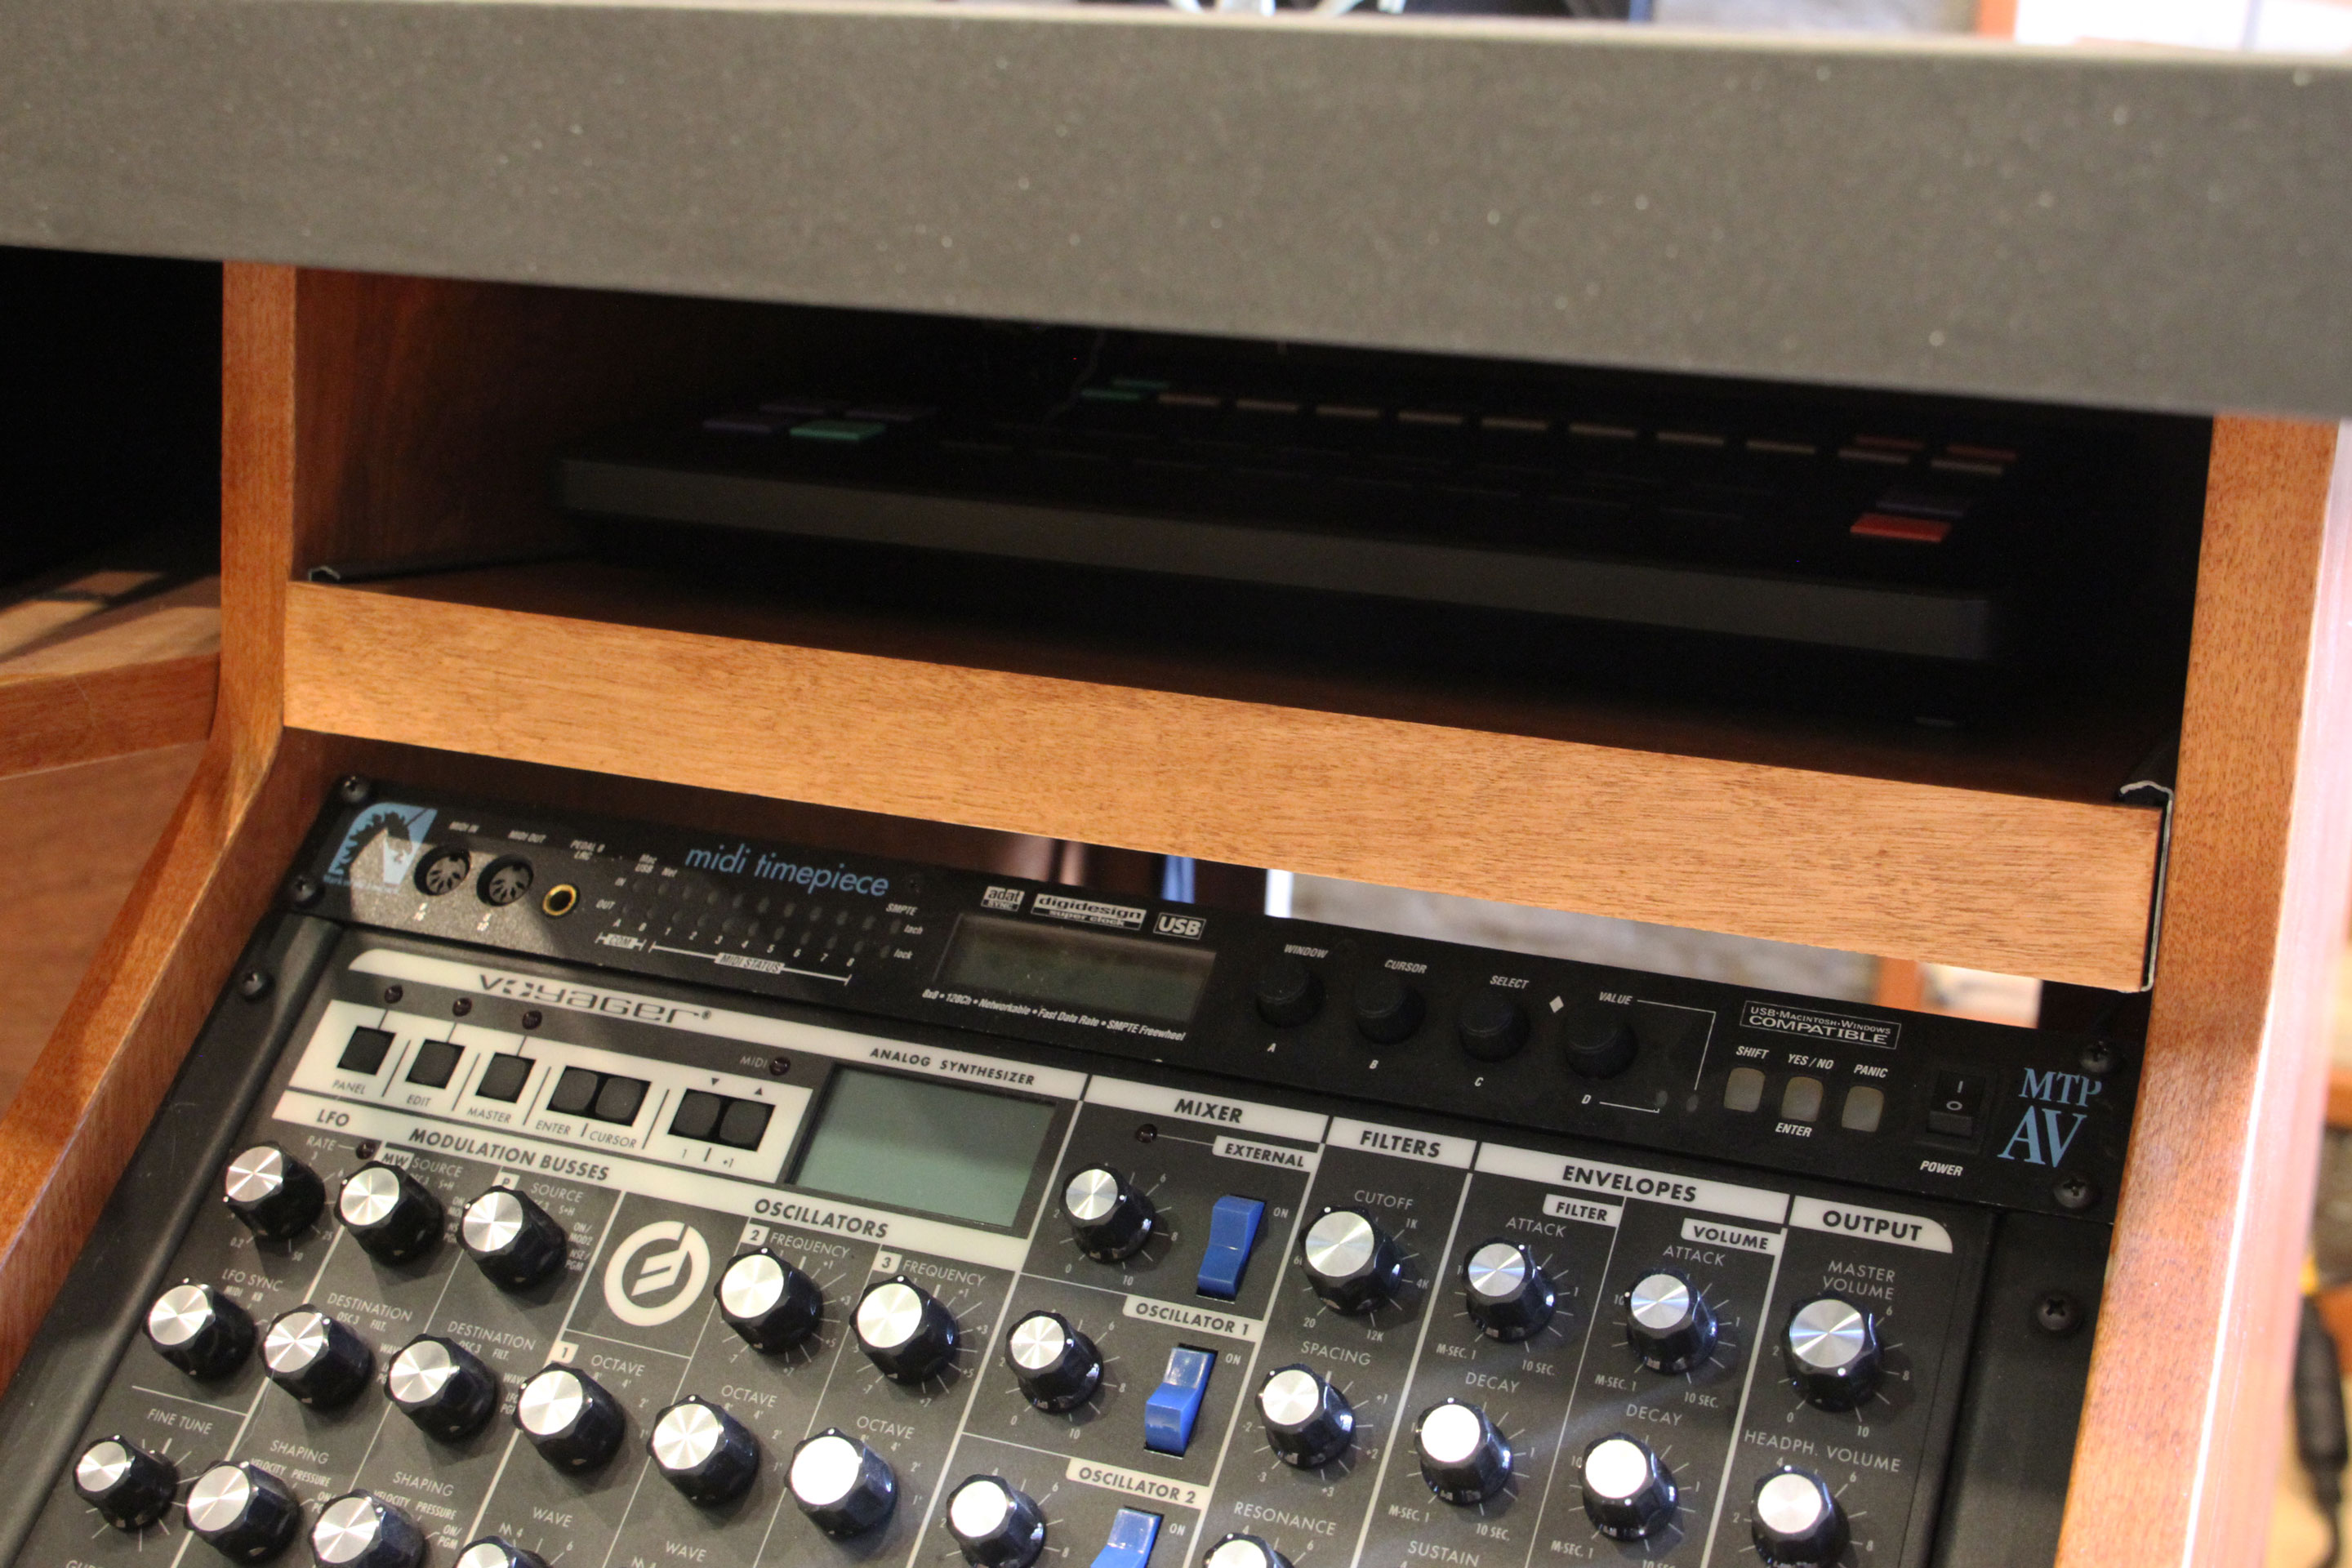
- Attach Rack Rails. Determine which cabinets will receive rack rails and attach them, using a setback of roughly 3/4″ for the lower (vertically mounted) rails and 1″ for the upper (angled) rails.
- Attach Sliding Shelves. Attach drawer slide hardware to cabinets and shelves.
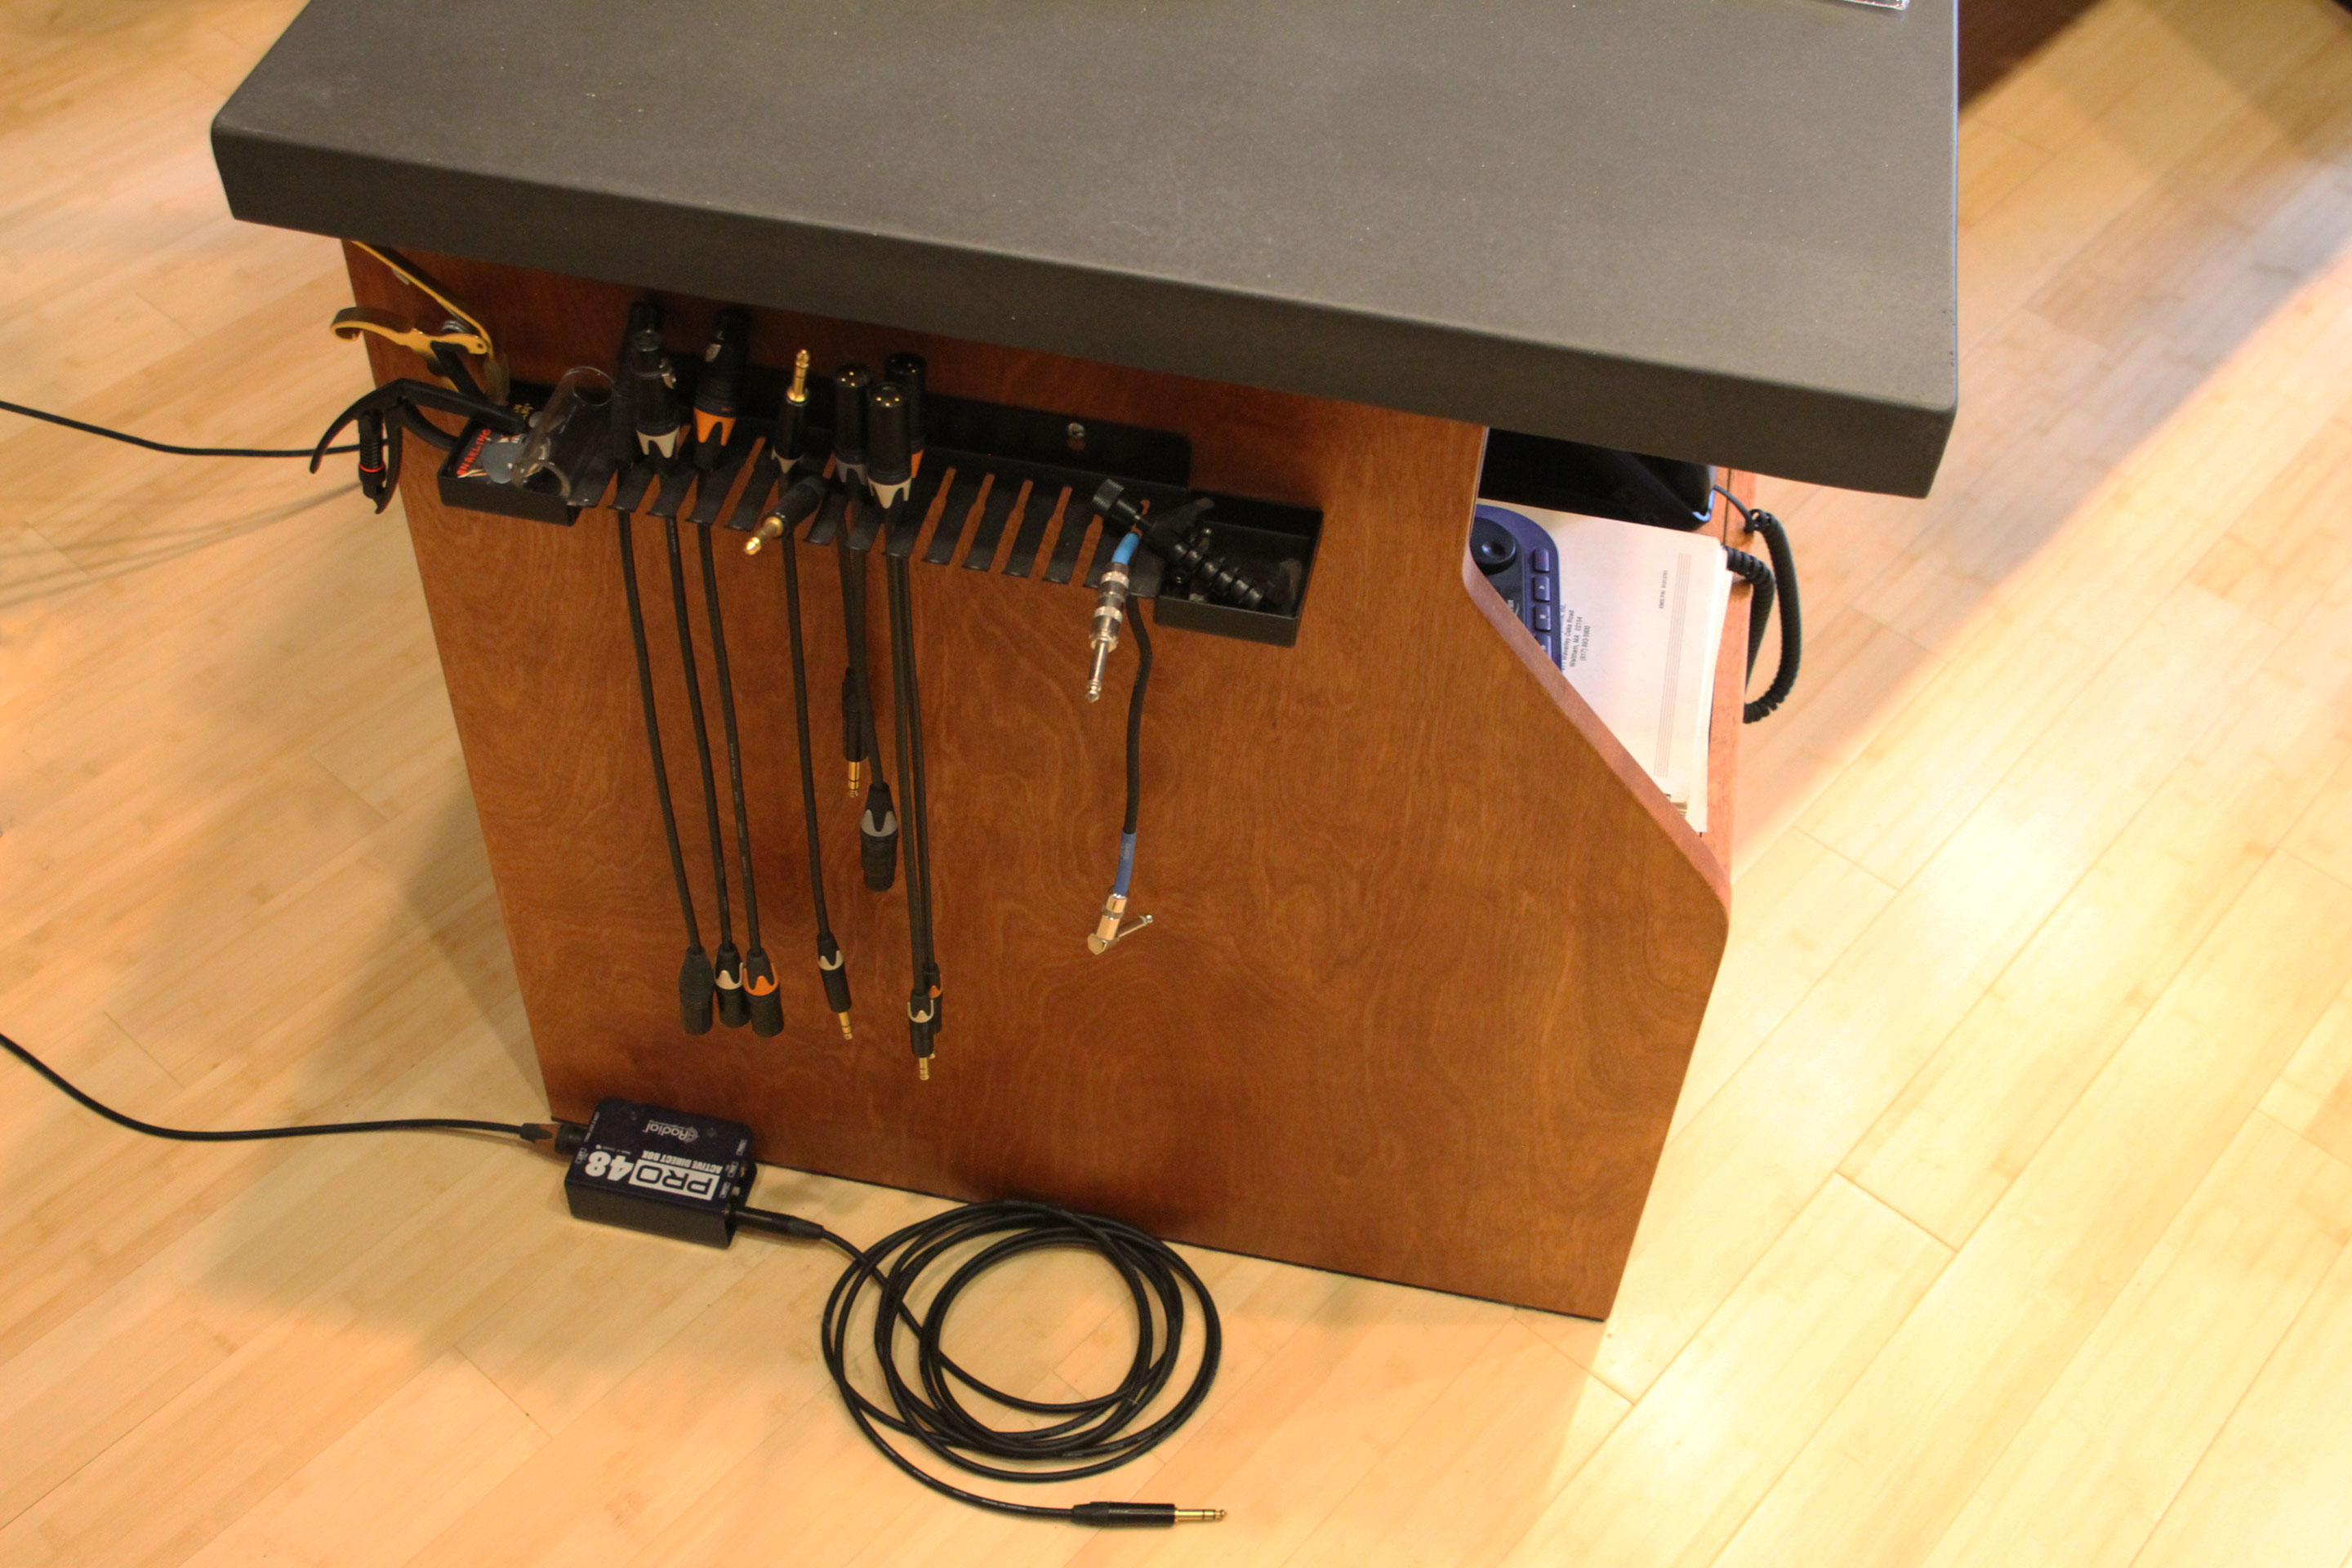
- Add Cable Runs. Using a drill with hole-cutting blade, cut holes into the cabinets and modesty panel, so that cables may run freely between the cabinets and the space behind the MIDIBoard. The supplied drawings include suggestions, but these are largely a matter of taste and your studio’s technical requirements. If you want unobstructed access to the rear of your MIDIBoard, you’ll need much larger holes and perhaps more of them.
- Install Desktop. When your concrete desktop is ready, be sure the fabricators position it correctly, with overhangs matching at all corners. Once laid down, it is difficult to move by yourself. Furthermore, depending on the shape of your desktop, the desk may be heavy at the back, especially without your MIDIBoard to counter-balance it, so be careful to not tip the desk over backwards. If there is any chance of people leaning or sitting on the rear edge of your desk, additional support is strongly recommended.
- Mount Your MIDIBoard. Assuming restricted access to the MIDIBoard’s rear panel, turn the unit’s power switch on and attach all cables, routing them appropriately through the cable runs. Then, rest the MIDIBoard on its shelf and slide into place. Finally, pull cables tight or feed the slack into the desk.
- Attach Power Strips (Optional). A large power strip, such as APC’s AP7530 mounts neatly to the bottom edge of the rear of the modesty panel and brings 24 power receptacles to your music production desk.
The Files
Here are the downloadable documents I promised. Feel free to edit and re-share, following a Creative Commons Attribution-NonCommercial 4.0 International license. For commercial use, please contact me. Don’t be afraid. I’m super easy.
If you attempt this project or otherwise found the information useful, please share your experiences in the comments below. Likewise, any corrections or suggestions are welcome. If you lose a thumb, I don’t want to know.
| Document | File Format | Download |
|---|---|---|
| Cut Sheet – Kurzweil MIDIBoard Music Production Desk |
Adobe Acrobat (.PDF) | download |
| Desktop Template – Kurzweil MIDIBoard Music Production Desk |
Adobe Acrobat (.PDF) | download |
| Cut Sheet – Kurzweil MIDIBoard Music Production Desk |
CorelDRAW X6 (.CDR) | download |
| Desktop Template – Kurzweil MIDIBoard Music Production Desk |
CorelDRAW X6 (.CDR) | download |
| 3D CAD Drawing – Kurzweil MIDIBoard Music Production Desk |
SketchUp (.SKP) | download |
| 3D CAD Drawing – Kurzweil MIDIBoard |
SketchUp (.SKP) | download |
Be safe. Enjoy!